How to view the fleet-wide plugin inventory
OverviewThe Plugin Inventory page shows every plugin installed across all your WordPress sites in one searchable, filterable table — with real icons, status, version, and update availability.
-
Click “Plugins” in the sidebar
Navigate to Plugins. The page loads all plugins from every connected site. -
Use the search bar to find a specific plugin
Type the plugin name to instantly filter the table. -
Filter by site
Use the site dropdown to narrow results to a single WordPress site. The status counts in the header update to reflect that site only. -
Filter by site status
Use the All Sites / Online Only / Offline Only dropdown to show only sites that are currently reachable, only ones that aren’t, or everything — handy when triaging which sites need attention first. -
Filter by status
Use the status pills: All, Active, Inactive, Updates Available, or Abandoned. Abandoned plugins haven’t been updated in over a year. -
Select multiple plugins for bulk actions
Check the boxes on the left to select one or many rows, then use the bulk action bar that appears at the bottom.
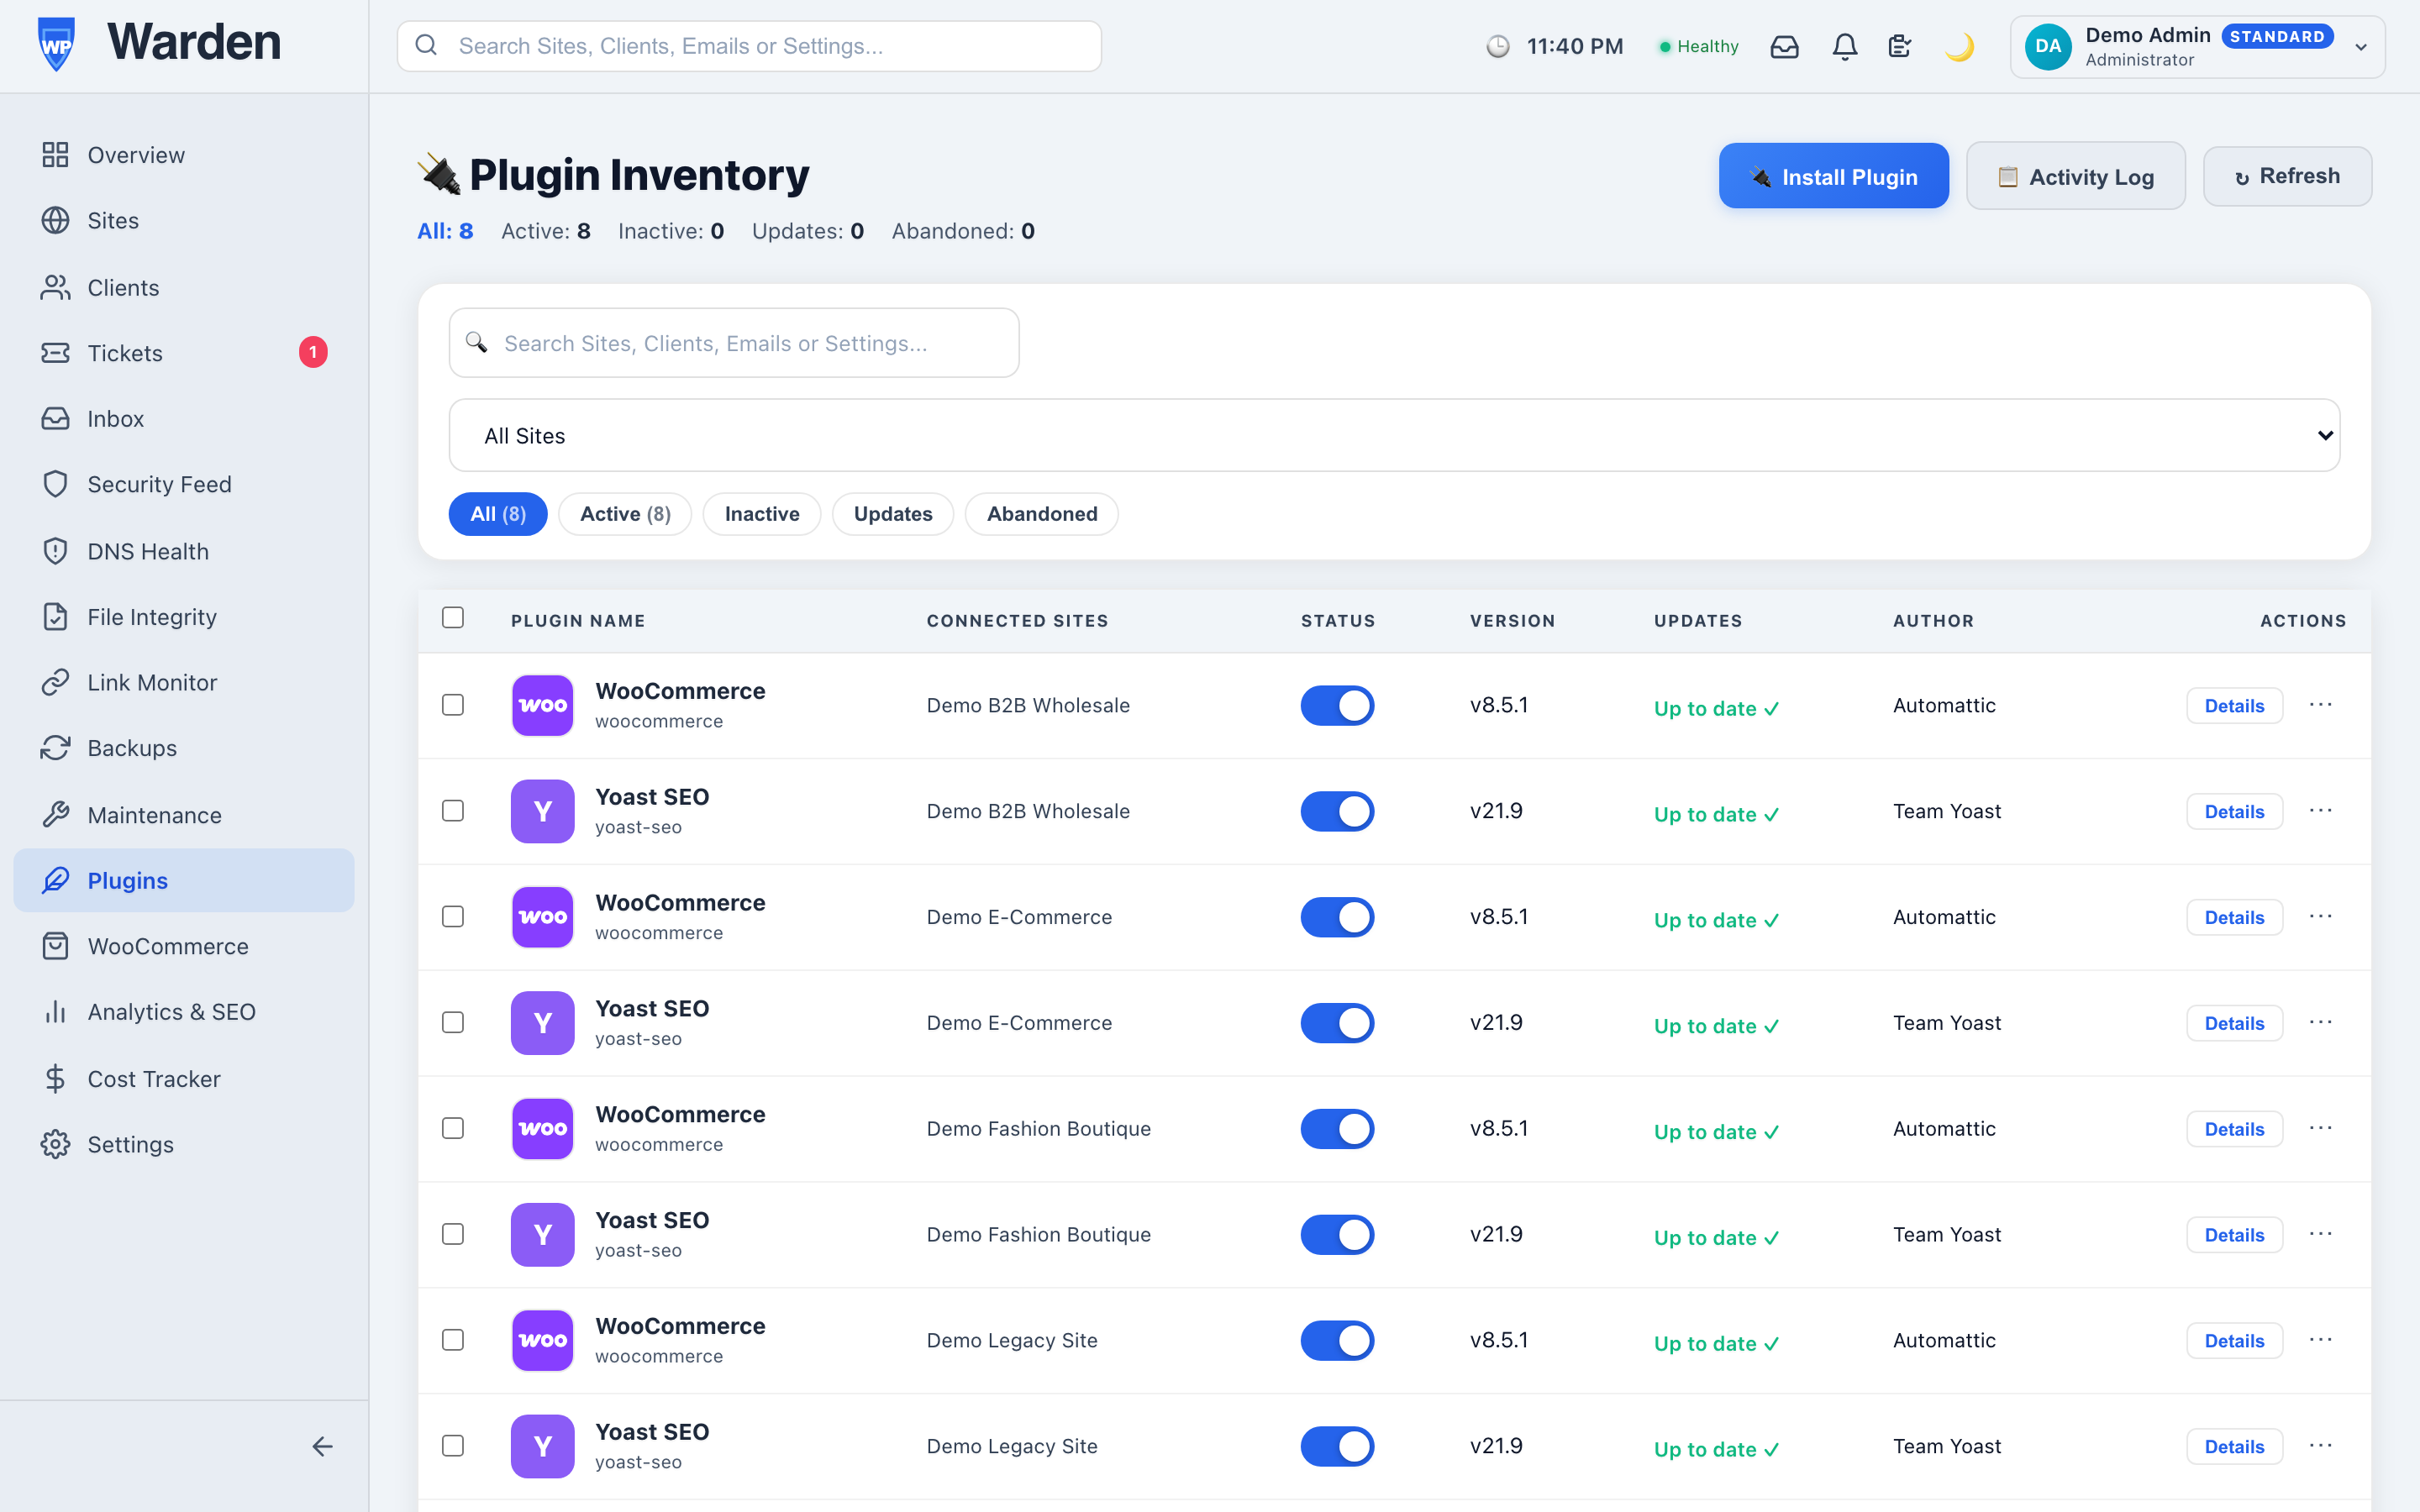 Screenshot: Plugin Inventory page
The full plugin table with search bar, site filter, status pills, and per-row toggle controls.
A pulsing amber dot next to a plugin means a remote command has been queued. WP Warden pushes it to the site immediately in most cases; if the site can’t be reached right away, it falls back to the site’s next WordPress heartbeat (up to 5 minutes).
How to activate or deactivate a plugin remotely
Remote ControlToggle any plugin’s active state on a WordPress site without ever logging into WordPress admin.
-
Find the plugin in the Plugin Inventory
Use search or filter to locate it. Go to Plugins in the sidebar. -
Find the toggle switch in the “Status” column
A green toggle means the plugin is active; a grey toggle means it is inactive. -
Click the toggle to change the state
WP Warden queues an activate or deactivate command immediately. A pulsing amber dot appears while the command is pending. -
WP Warden pushes the command to the site
WP Warden Watchdog usually applies the command within seconds over a direct connection. If the site is briefly unreachable, it’s applied on the site’s next 5-minute heartbeat instead. The toggle updates to reflect the new state once it completes.
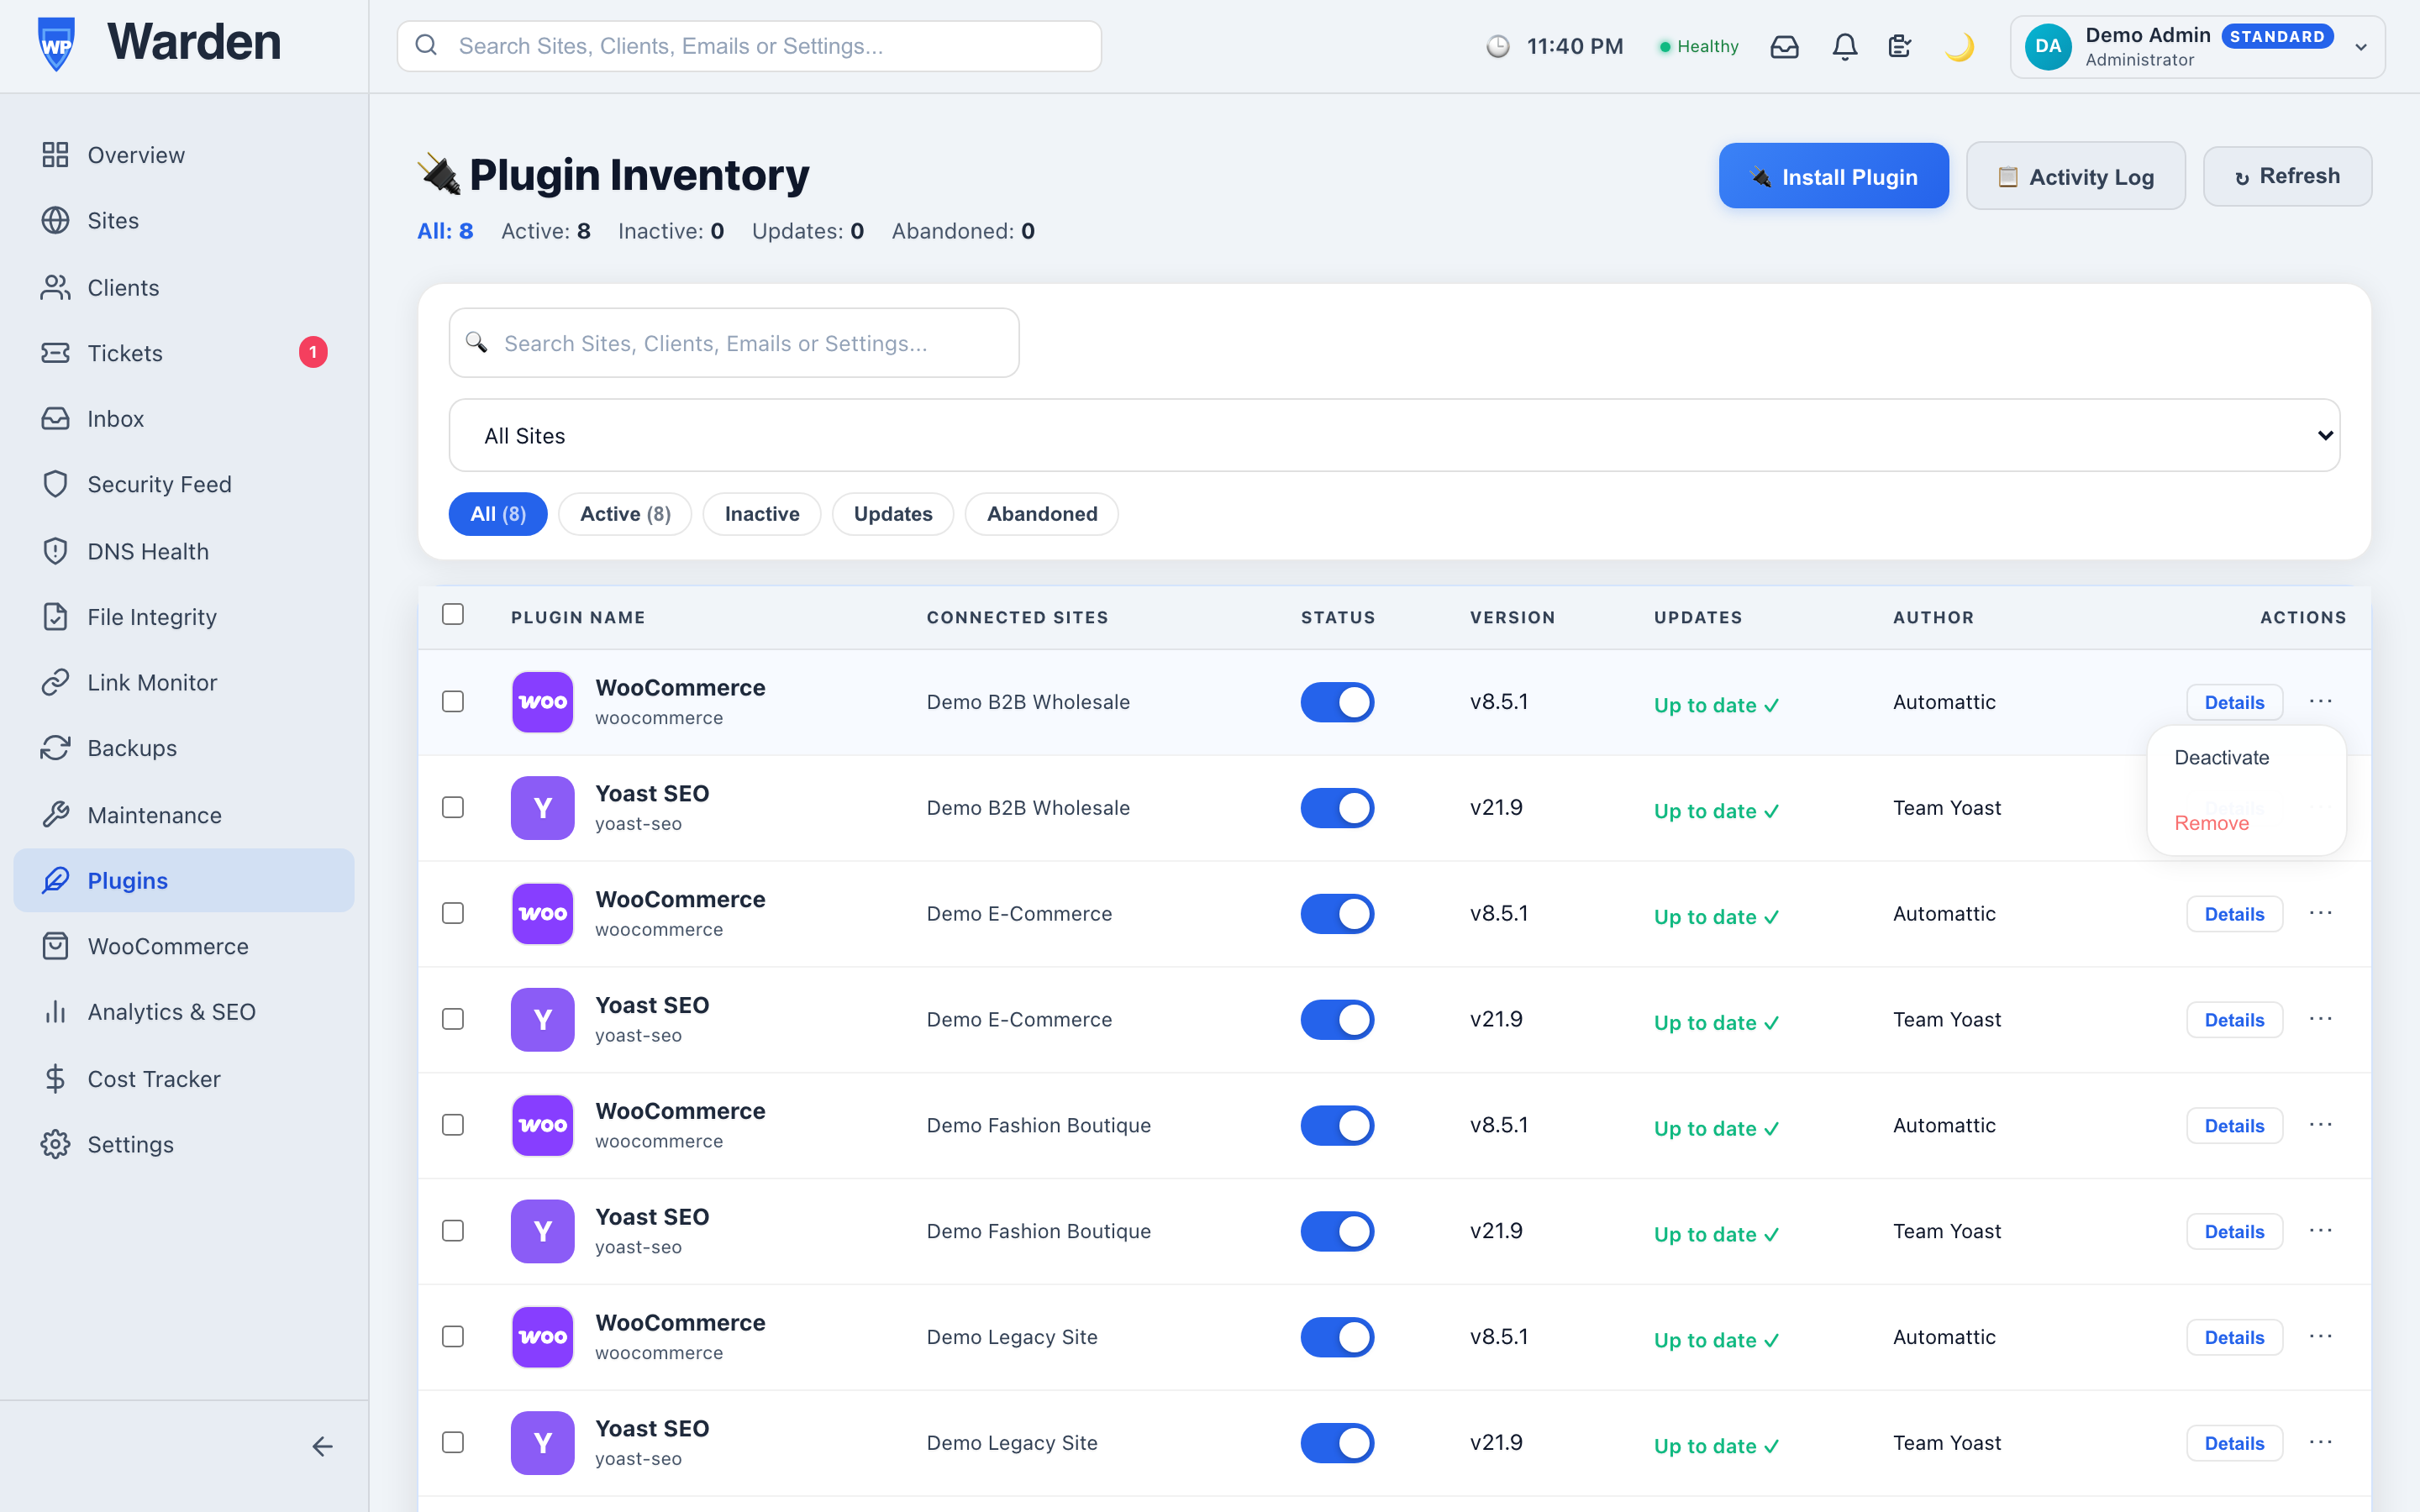 Screenshot: Plugin toggle in the inventory
table
Screenshot: Plugin toggle in the inventory
table
The toggle switch in the Status column, shown in active (green) and inactive (grey) states, with the amber pending indicator.
You can also click the “···” menu at the end of any plugin row for quick access to Activate/Deactivate, Update (if available), and Remove.
How to update a plugin on a remote site
UpdatesQueue a plugin update from WP Warden — the WordPress site applies it on the next heartbeat. No WordPress login needed.
-
Filter by “Updates Available”
In the Plugin Inventory, click the Updates status pill to show only plugins with pending updates. -
Find the plugin you want to update
Look for the orange “Update Available” badge in the Version column. -
Click the “Update” button in the Actions column
Or use the three-dot menu (···) on the right and select Update. -
The update is queued instantly
There’s no confirmation step — clicking Update immediately queues the command, and a toast confirms it (e.g. “Update queued for [plugin name]”). -
Monitor the result
The pulsing amber dot appears while the update is queued. WP Warden pushes it to the site right away in most cases (falling back to the site’s next 5-minute heartbeat if it’s unreachable); once it runs, the version column updates and the badge disappears.
 Screenshot: Plugin row showing “Update Available” badge
and Update button
Screenshot: Plugin row showing “Update Available” badge
and Update button
The version column showing current and available versions, with the Update button highlighted.
After every plugin update, WP Warden automatically takes a before/after screenshot and checks for visual regressions. If the site looks different, you will get a Visual Regression alert. See visual regression monitoring.
How to install a new plugin from WordPress
New FeatureBrowse the entire official WordPress plugin directory, review full plugin details, and remotely install any plugin on any of your sites — all from within WP Warden.
-
Go to the Plugin Inventory
Click Plugins in the sidebar. -
Click “🔌 Install Plugin” in the toolbar
The button is in the toolbar at the top-right of the page, alongside Activity Log and Refresh. A full-screen Plugin Browser modal opens. -
Search for the plugin
Type the plugin name or keyword in the search box on the left. Results appear automatically after a short delay, showing plugin icon, name, star rating, and active install count. -
Click a result card to view full details
The right panel loads the complete plugin page: banner image, author, stats (version, WP compatibility, PHP requirement, total downloads), and six content tabs: Description, Installation, FAQ, Screenshots, Changelog, and Reviews. -
Select a target site
In the Install to dropdown on the right sidebar, choose which of your connected WordPress sites to install the plugin on. -
Choose whether to activate after install
The Activate after install checkbox is ticked by default. Uncheck it if you want to install but leave the plugin inactive. -
Click “Install & Activate”
WP Warden queues aninstall_plugincommand. A green toast confirms the command has been queued. The WordPress site will download and install the plugin on its next heartbeat connection.
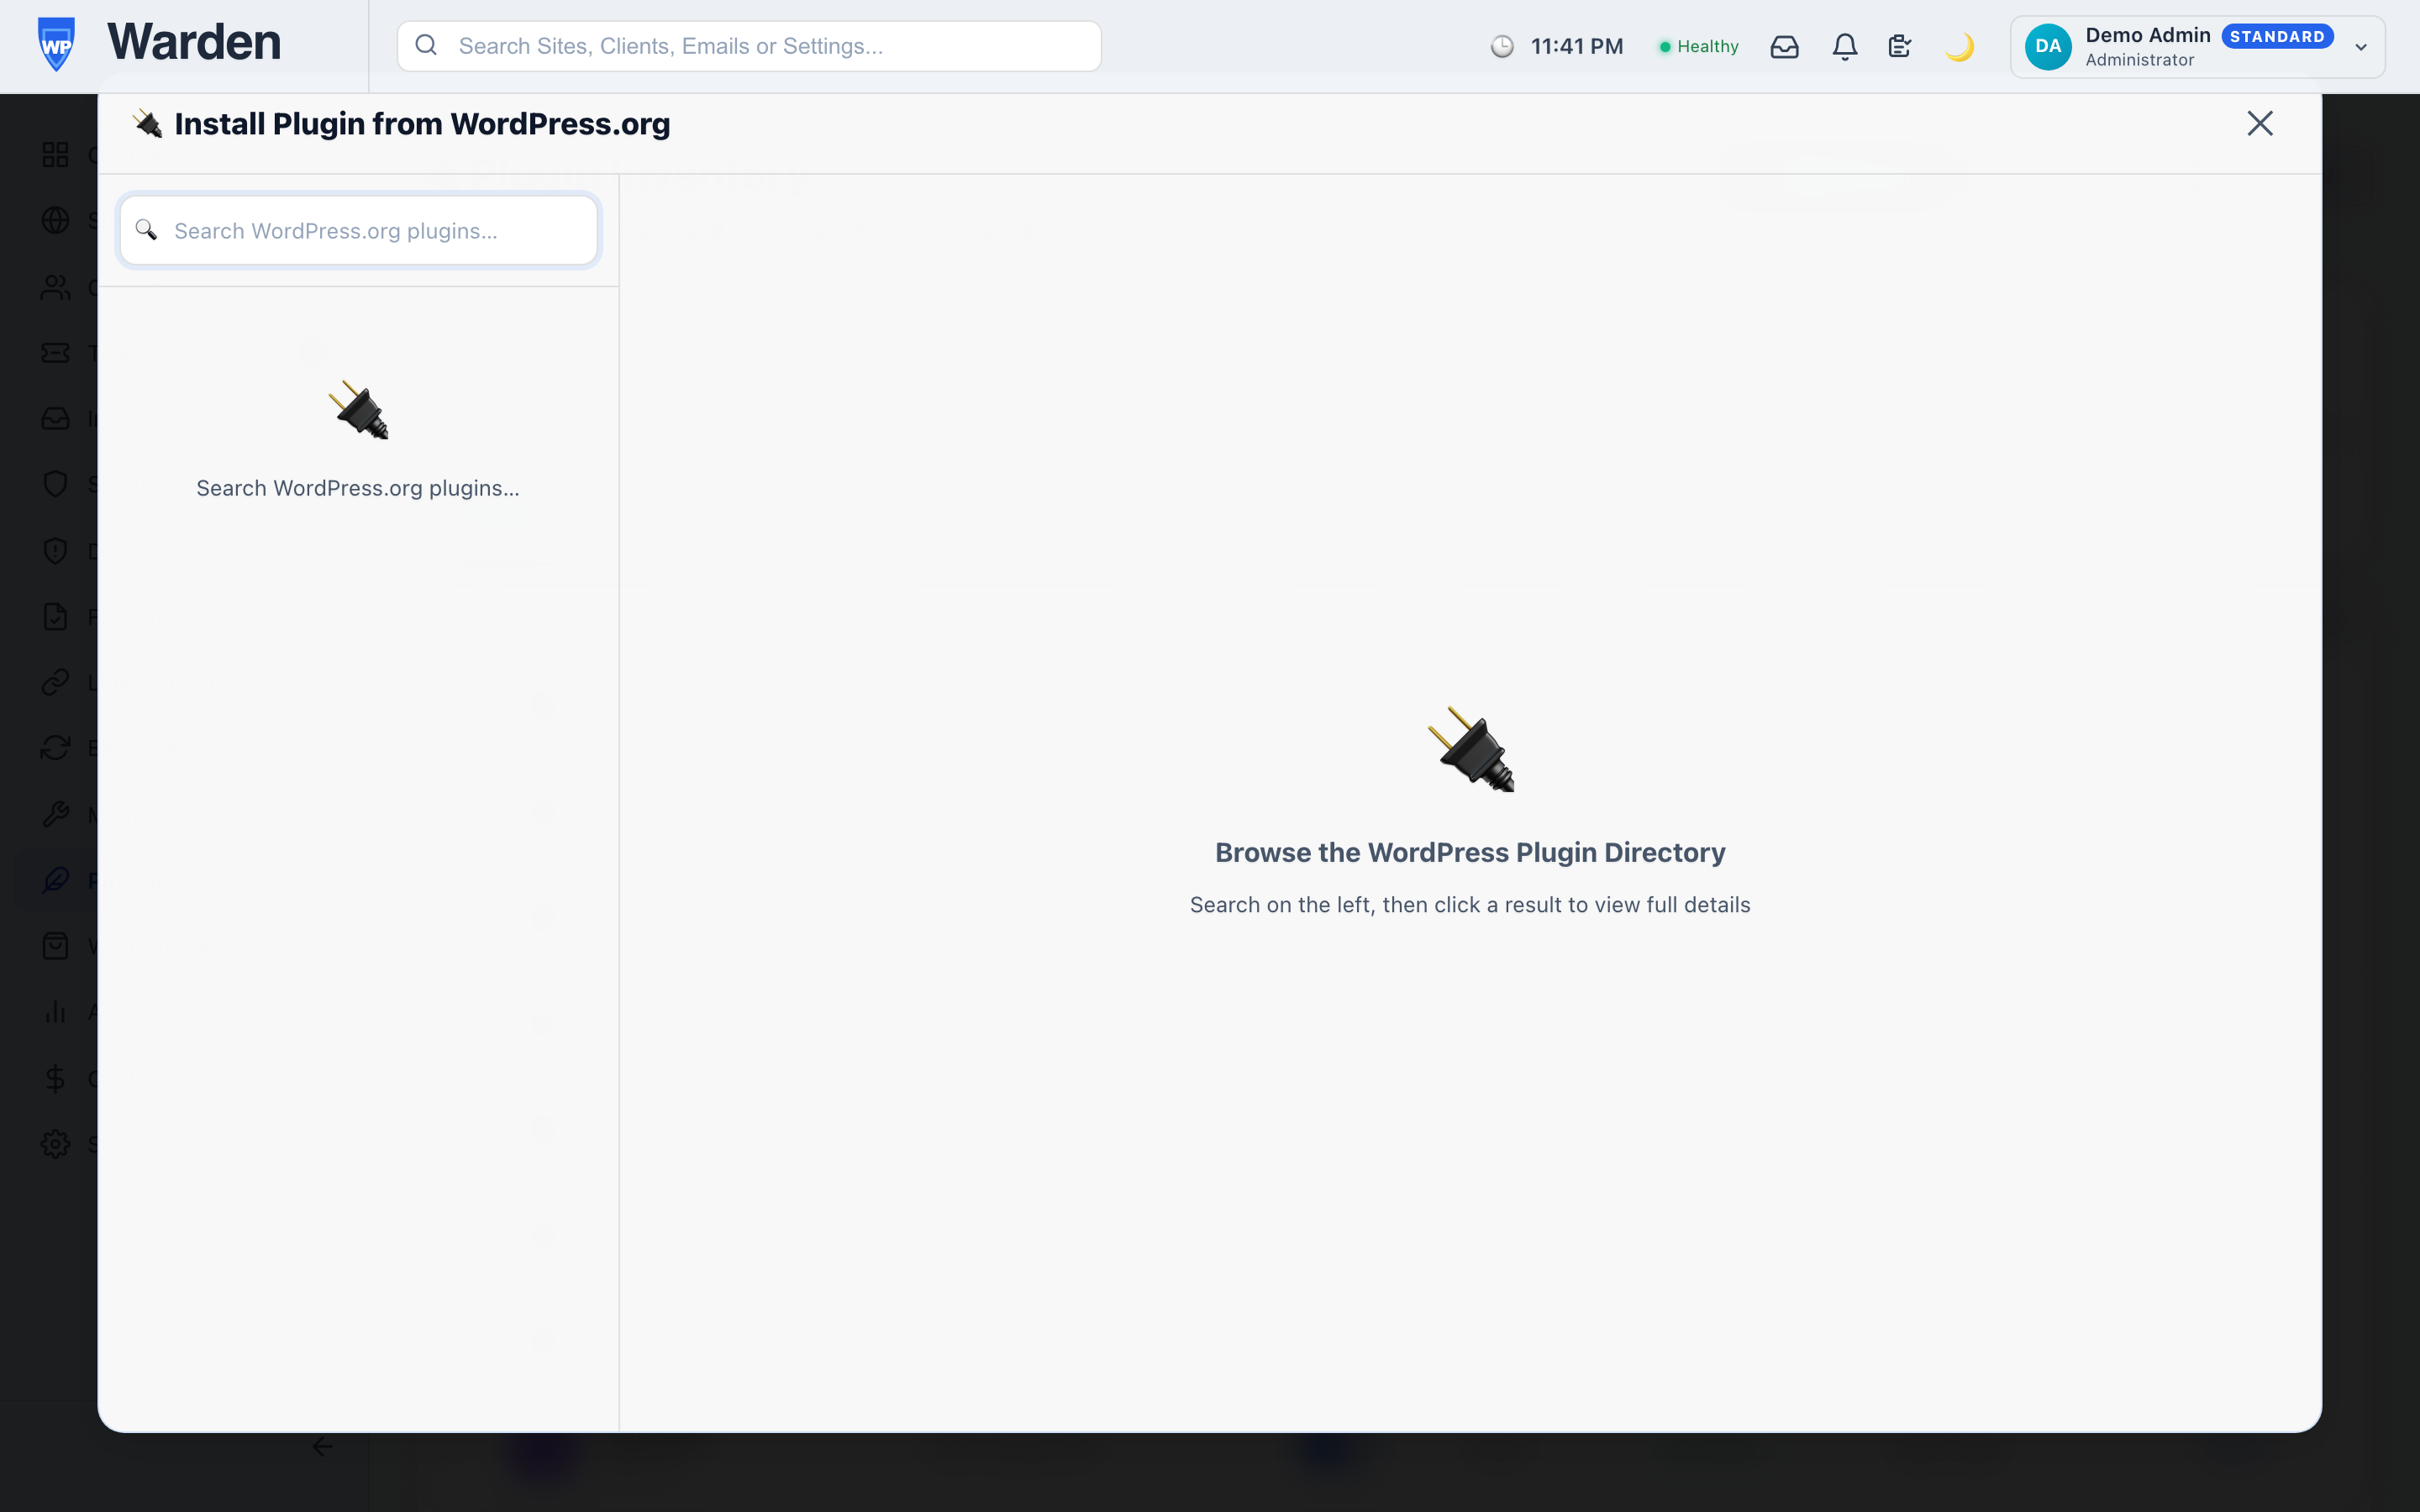 Screenshot: WordPress Plugin Browser modal
The two-panel modal showing the search results on the left and full plugin detail (banner, tabs, install sidebar) on the right.
If the selected plugin is already installed on the chosen site, a green “Already installed” badge appears and the Install button is disabled to prevent duplicates.
The browser calls WordPress directly from your browser — no backend proxy is used. This means search results are always live and there is no server load on your WP Warden instance.
Installation is queued and applied the next time the site checks in (within about 5 minutes) — the WordPress site must have internet access to download from WordPress.
This browser only searches the free WordPress.org directory. Premium/paid plugins (ACF Pro, WP Rocket, Gravity Forms, and similar) aren’t listed there and can’t be installed through this flow — download the plugin’s .zip from the vendor and install it directly in that site’s own WordPress admin (Plugins → Add New → Upload Plugin) or via SFTP instead.
How to bulk update plugins across multiple sites
Bulk ActionsThe Updates page gives you a fleet-wide view of every pending update. Select as many as you want and apply them all at once.
-
Click “Updates” in the sidebar
This opens the fleet-wide Updates page showing all pending plugin, theme, and core updates. -
Review what needs updating
Updates are organized into tabs by type: Plugins, Themes, Core, and Translations (view-only, no update action). Switch tabs to see items of that type; each row shows site name, item name, current version, and available version. -
Select updates using the checkboxes
Check individual items or use the header checkbox to select all within the active tab. You can mix items from different sites in a single batch, but selection is limited to one type at a time — switch tabs to update Themes or Core separately. -
Click “Update Selected”
WP Warden queues one update command per selected item and immediately pushes them to each affected site; if a site is unreachable, its commands fall back to the next 5-minute heartbeat. -
Monitor progress
Return to the Plugin Inventory to see status dots update as each site completes its updates.
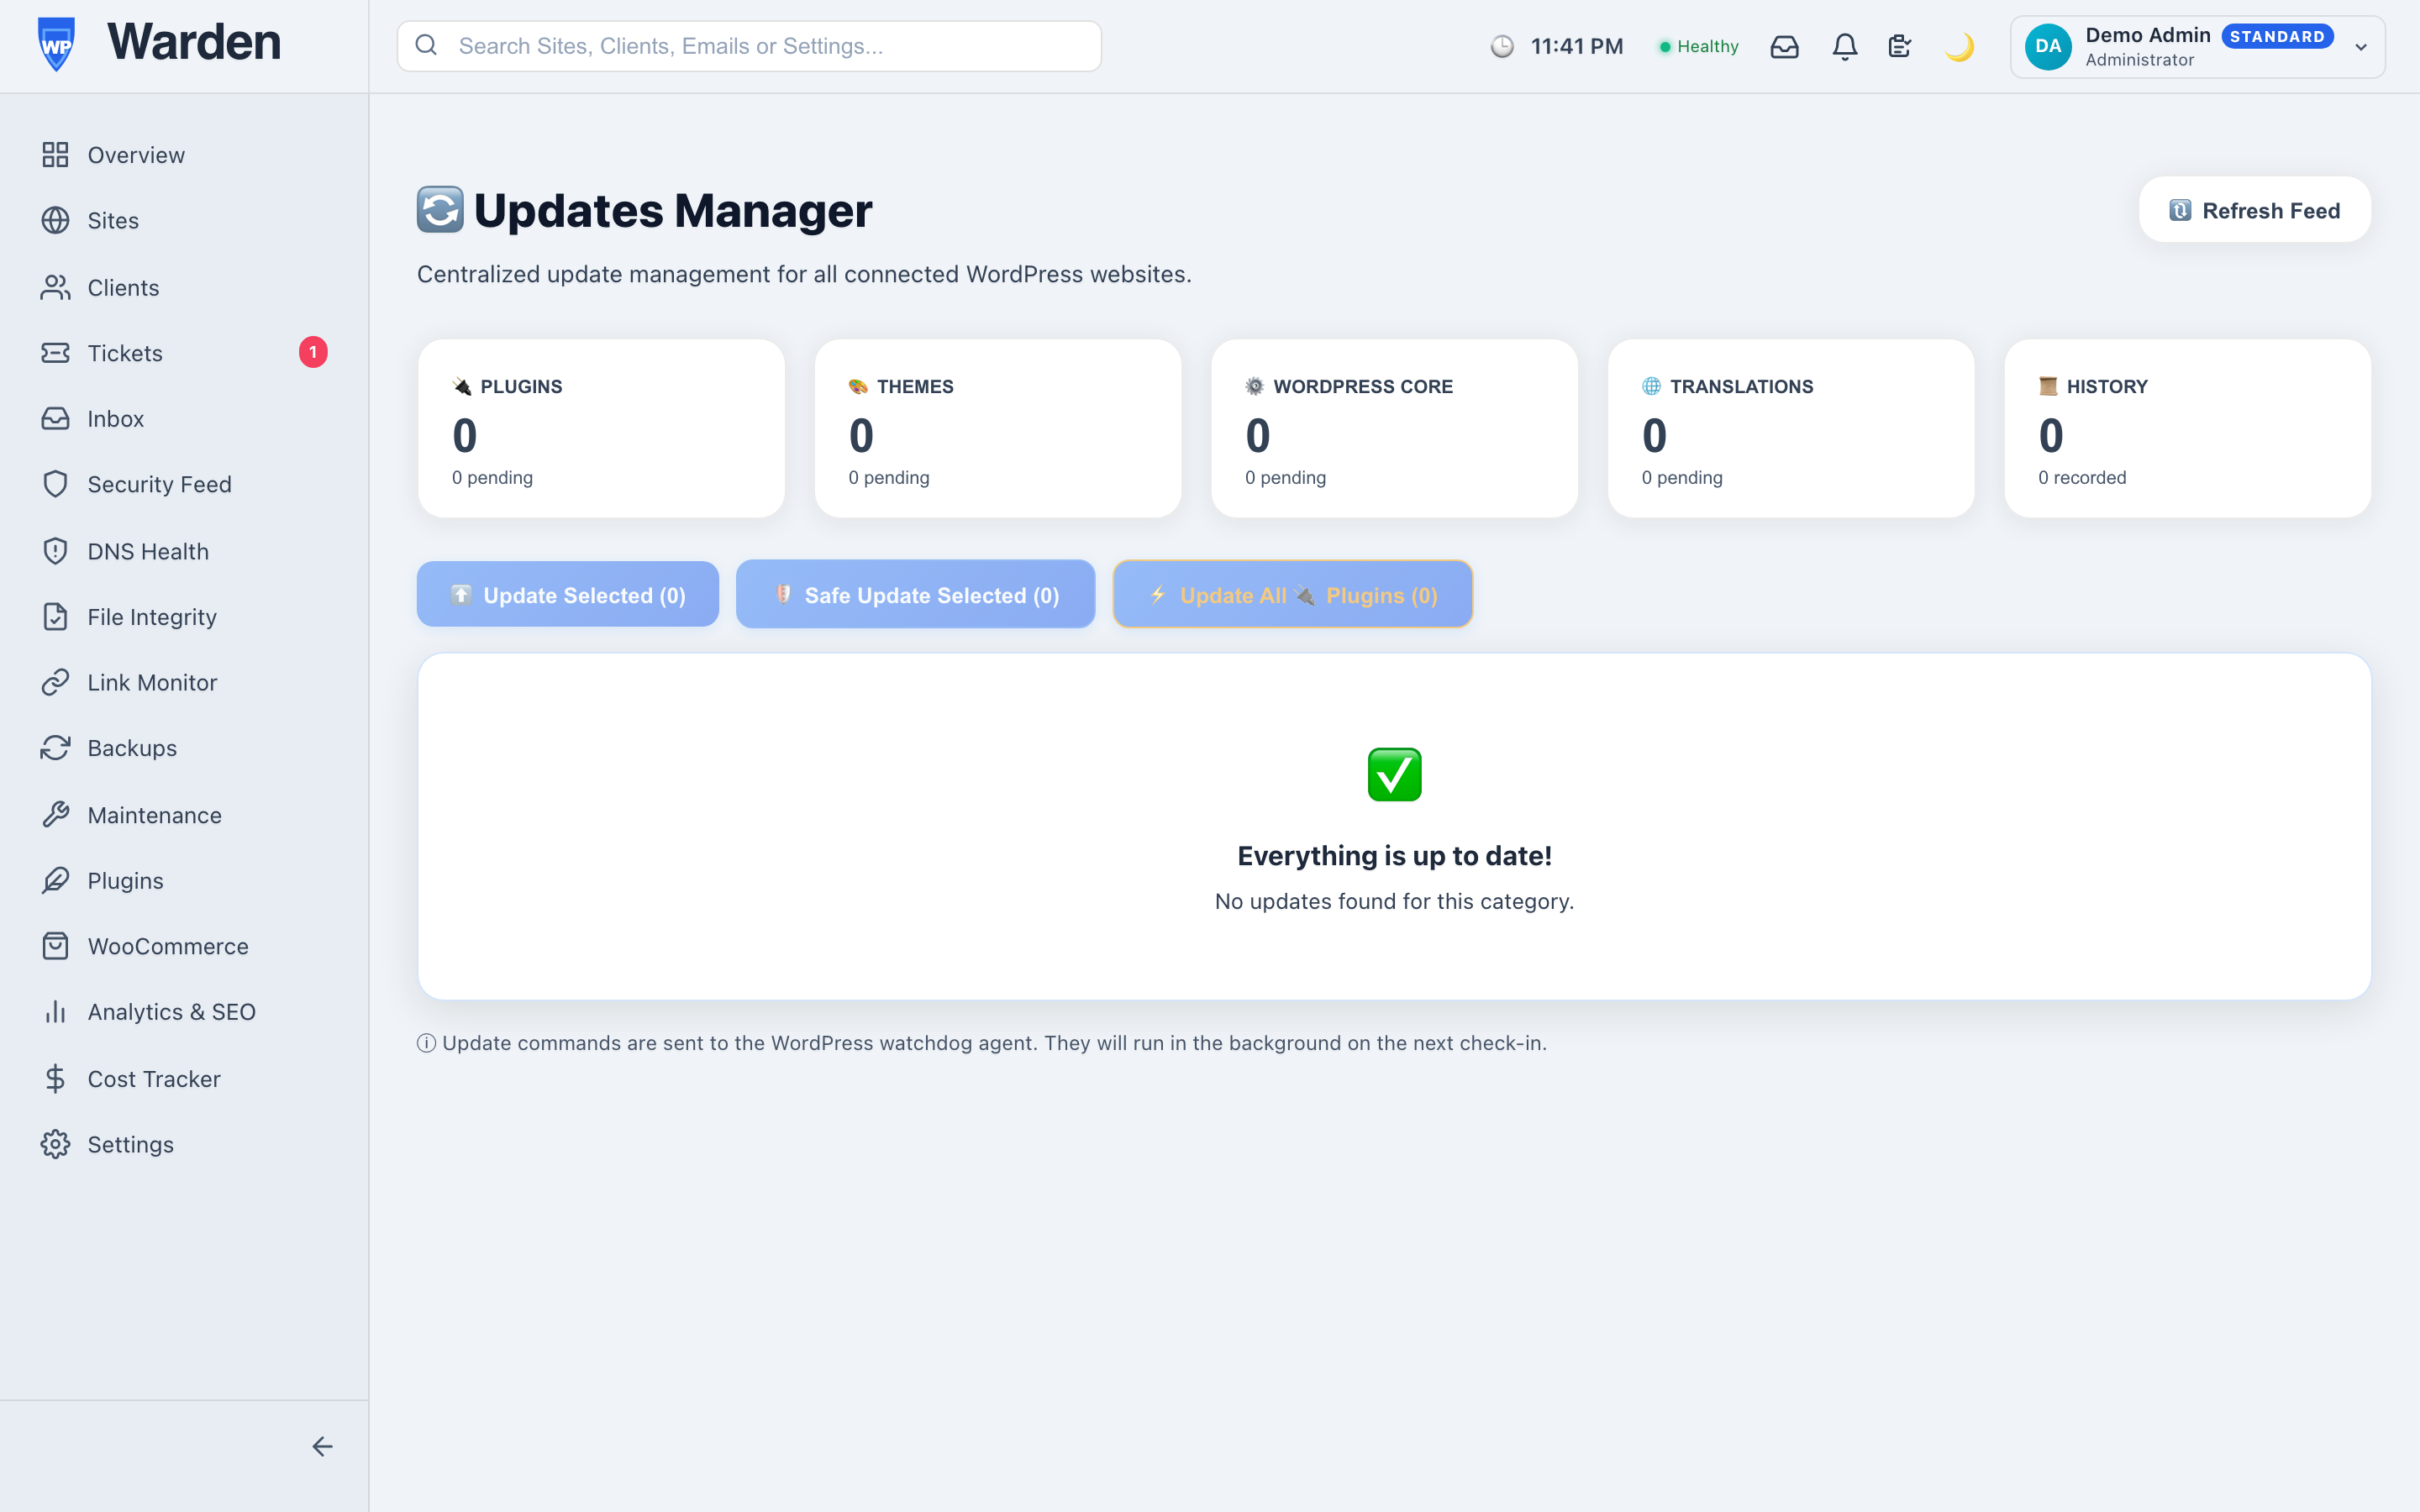 Screenshot: Updates page with multi-select
checkboxes
Screenshot: Updates page with multi-select
checkboxes
The fleet-wide updates table with tabs for Plugins, Themes, Core, and Translations, multi-select checkboxes, and the “Update Selected” button.
Each selected item is its own independent command — one item failing (an unmet PHP/WordPress version requirement, a broken update package, a site going offline mid-batch) doesn’t block or roll back the rest of the batch. After it finishes, re-check the Plugin Inventory or Activity Log for any item still showing an error instead of a cleared update badge, and retry that one individually.
How to delete a plugin from a remote site
Remote ControlPermanently remove a plugin from a WordPress site without logging in. WP Warden deactivates it first, then deletes all its files.
-
Find the plugin in the Plugin Inventory
Use search or filters to locate the plugin you want to delete. -
Open the action menu
Click the three-dot menu (···) on the far right of the plugin row. -
Select “Remove”
A confirmation modal titled “Confirm Plugin Removal” appears warning that this action is permanent. -
Type the confirmation keyword
To prevent accidental deletions, type Delete in the confirmation field. The Remove button becomes active only after this is typed. -
Confirm
Click the red Remove button. WP Warden pushes the command to the site immediately in most cases, falling back to the next 5-minute heartbeat if the site is unreachable.
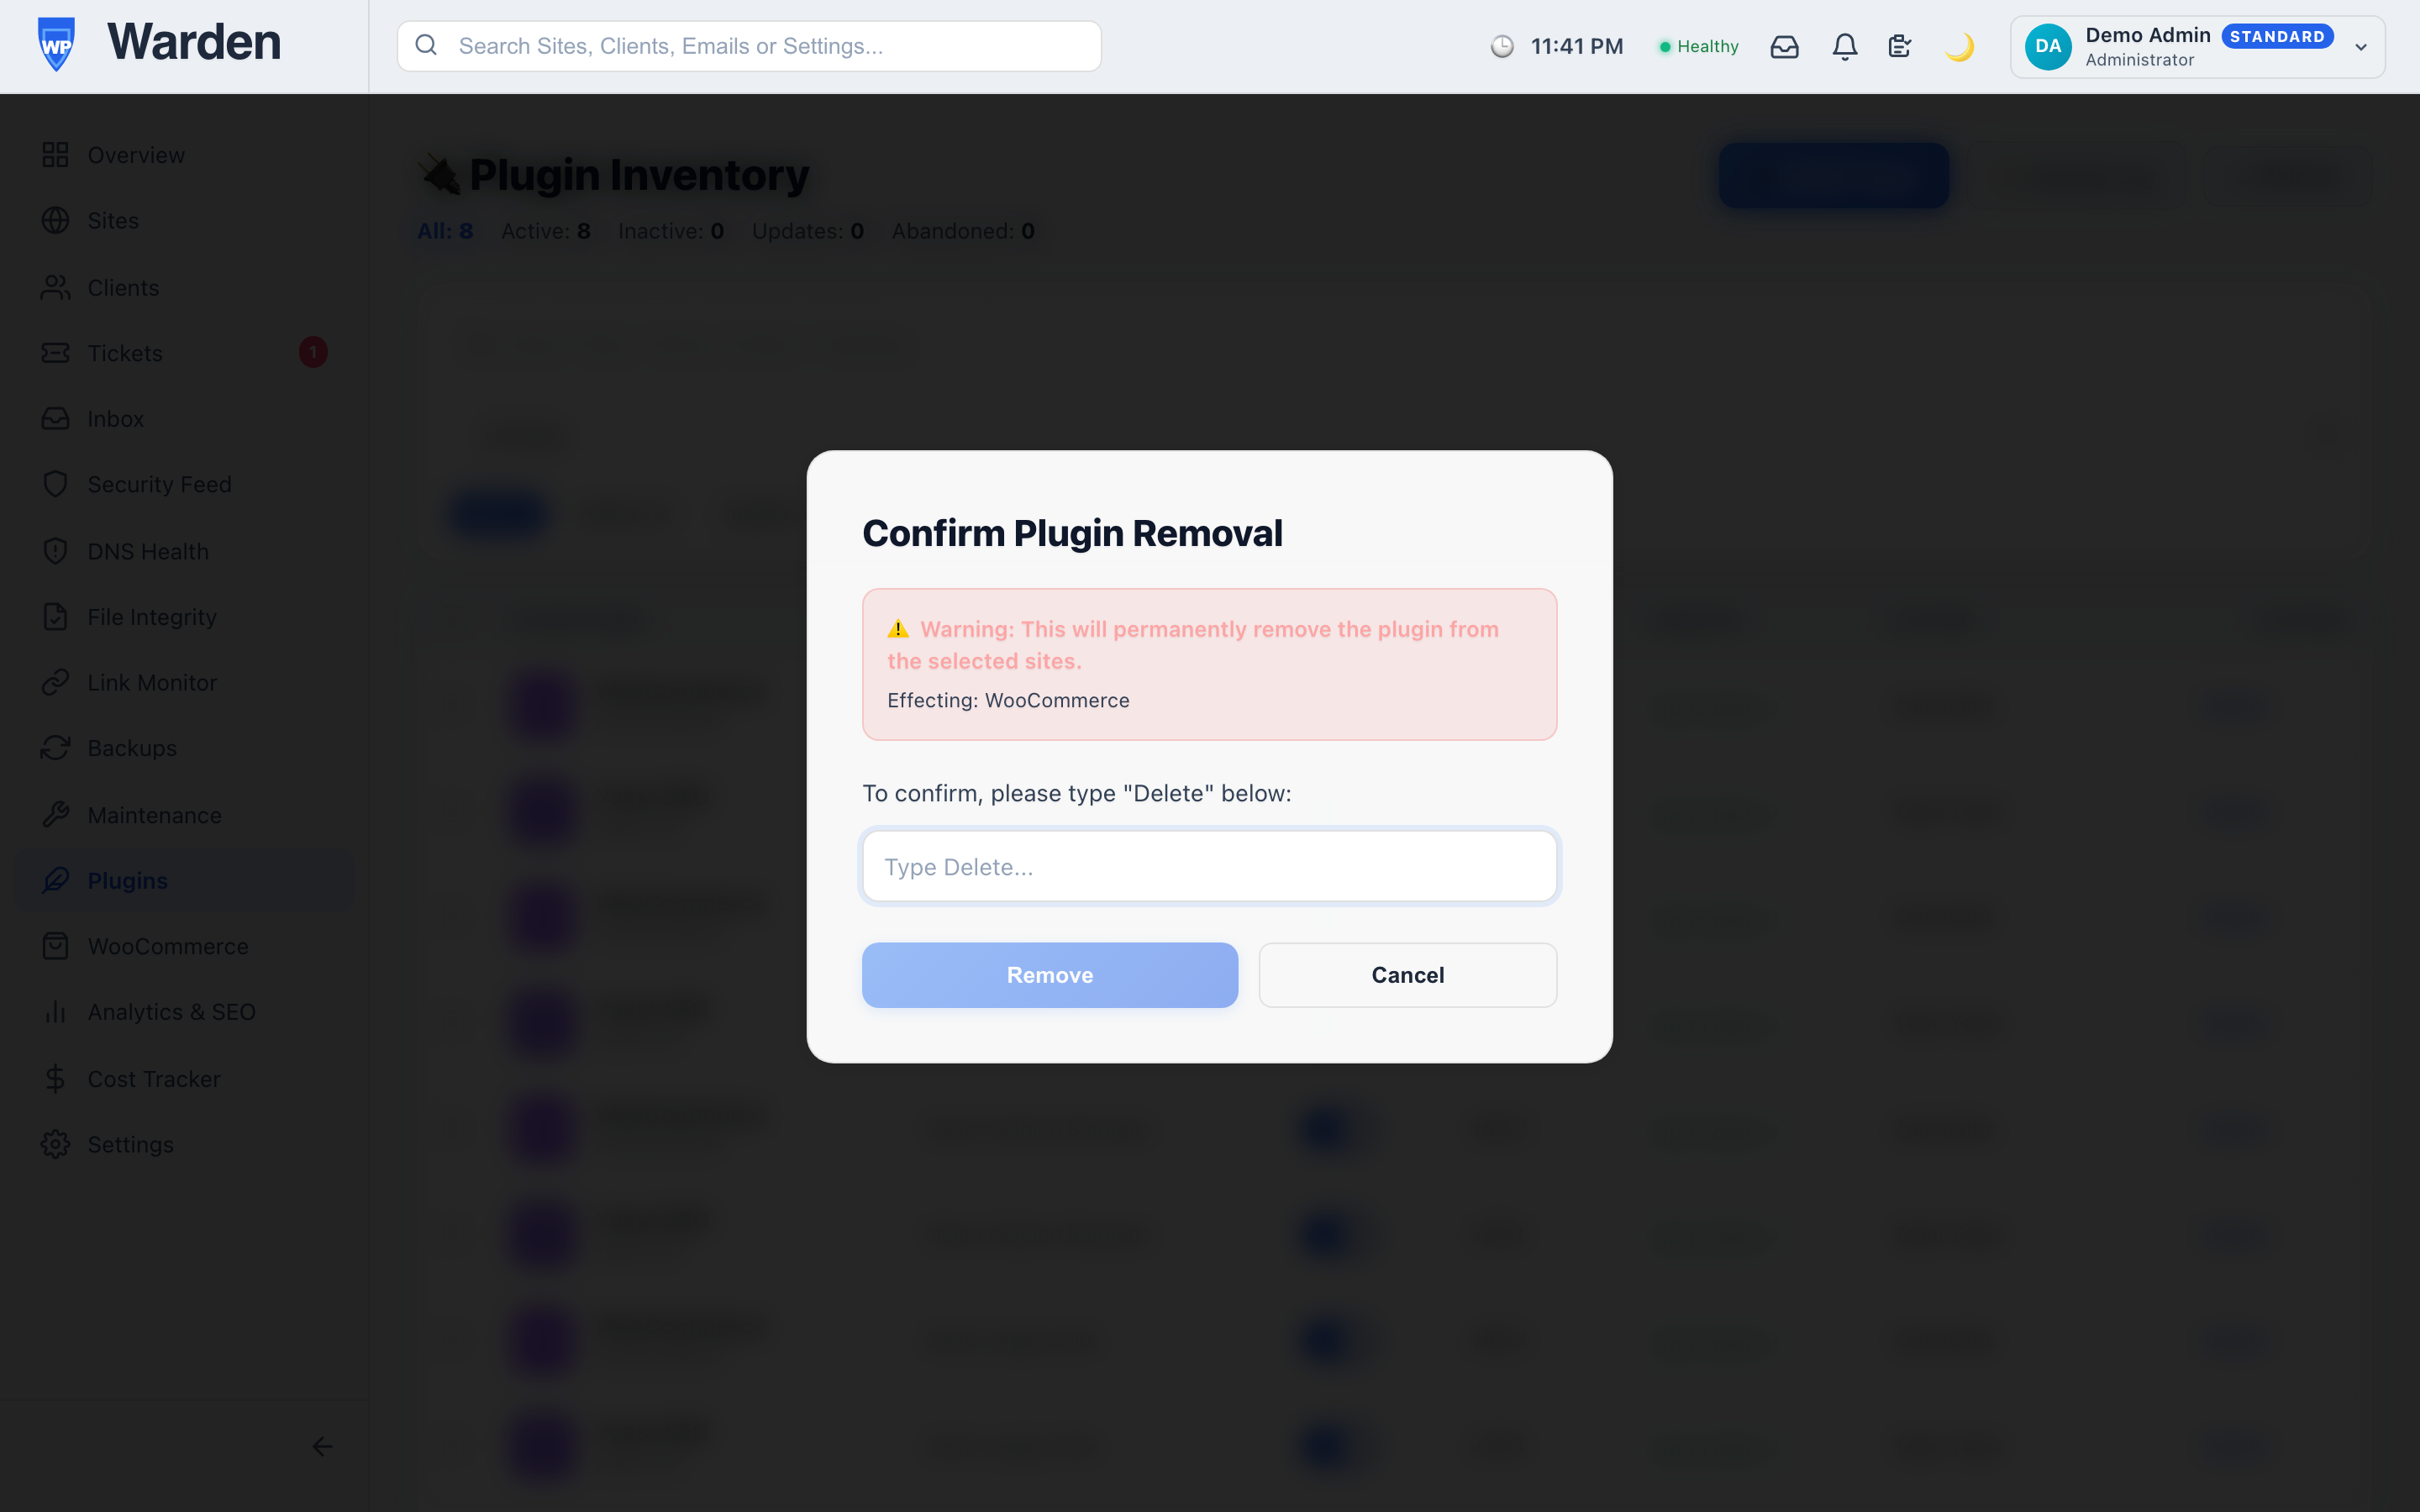 Screenshot: Delete Plugin confirmation dialog
The confirmation modal with the “type Delete to confirm” field and the red Remove button.
Deletion is permanent and cannot be undone from WP Warden. If you are unsure, deactivate the plugin first and delete it only once you have confirmed the site is functioning correctly. This removes the plugin’s files only — any custom database tables, options, or settings it created are typically left behind unless the plugin ran its own cleanup on deactivation, which matters if you plan to reinstall it later or are auditing site bloat.