Log in for the first time
BeginnerAfter your WP Warden account is created, follow these steps to log in and take a first look at the dashboard.
-
Open the WP Warden dashboard URLNavigate to your WP Warden dashboard URL in a browser — the link you were given (or bookmarked) when your account was created.
-
Enter your email and passwordUse the credentials provided when your account was created. If 2FA is enabled, you will be prompted for a code after entering your password.
-
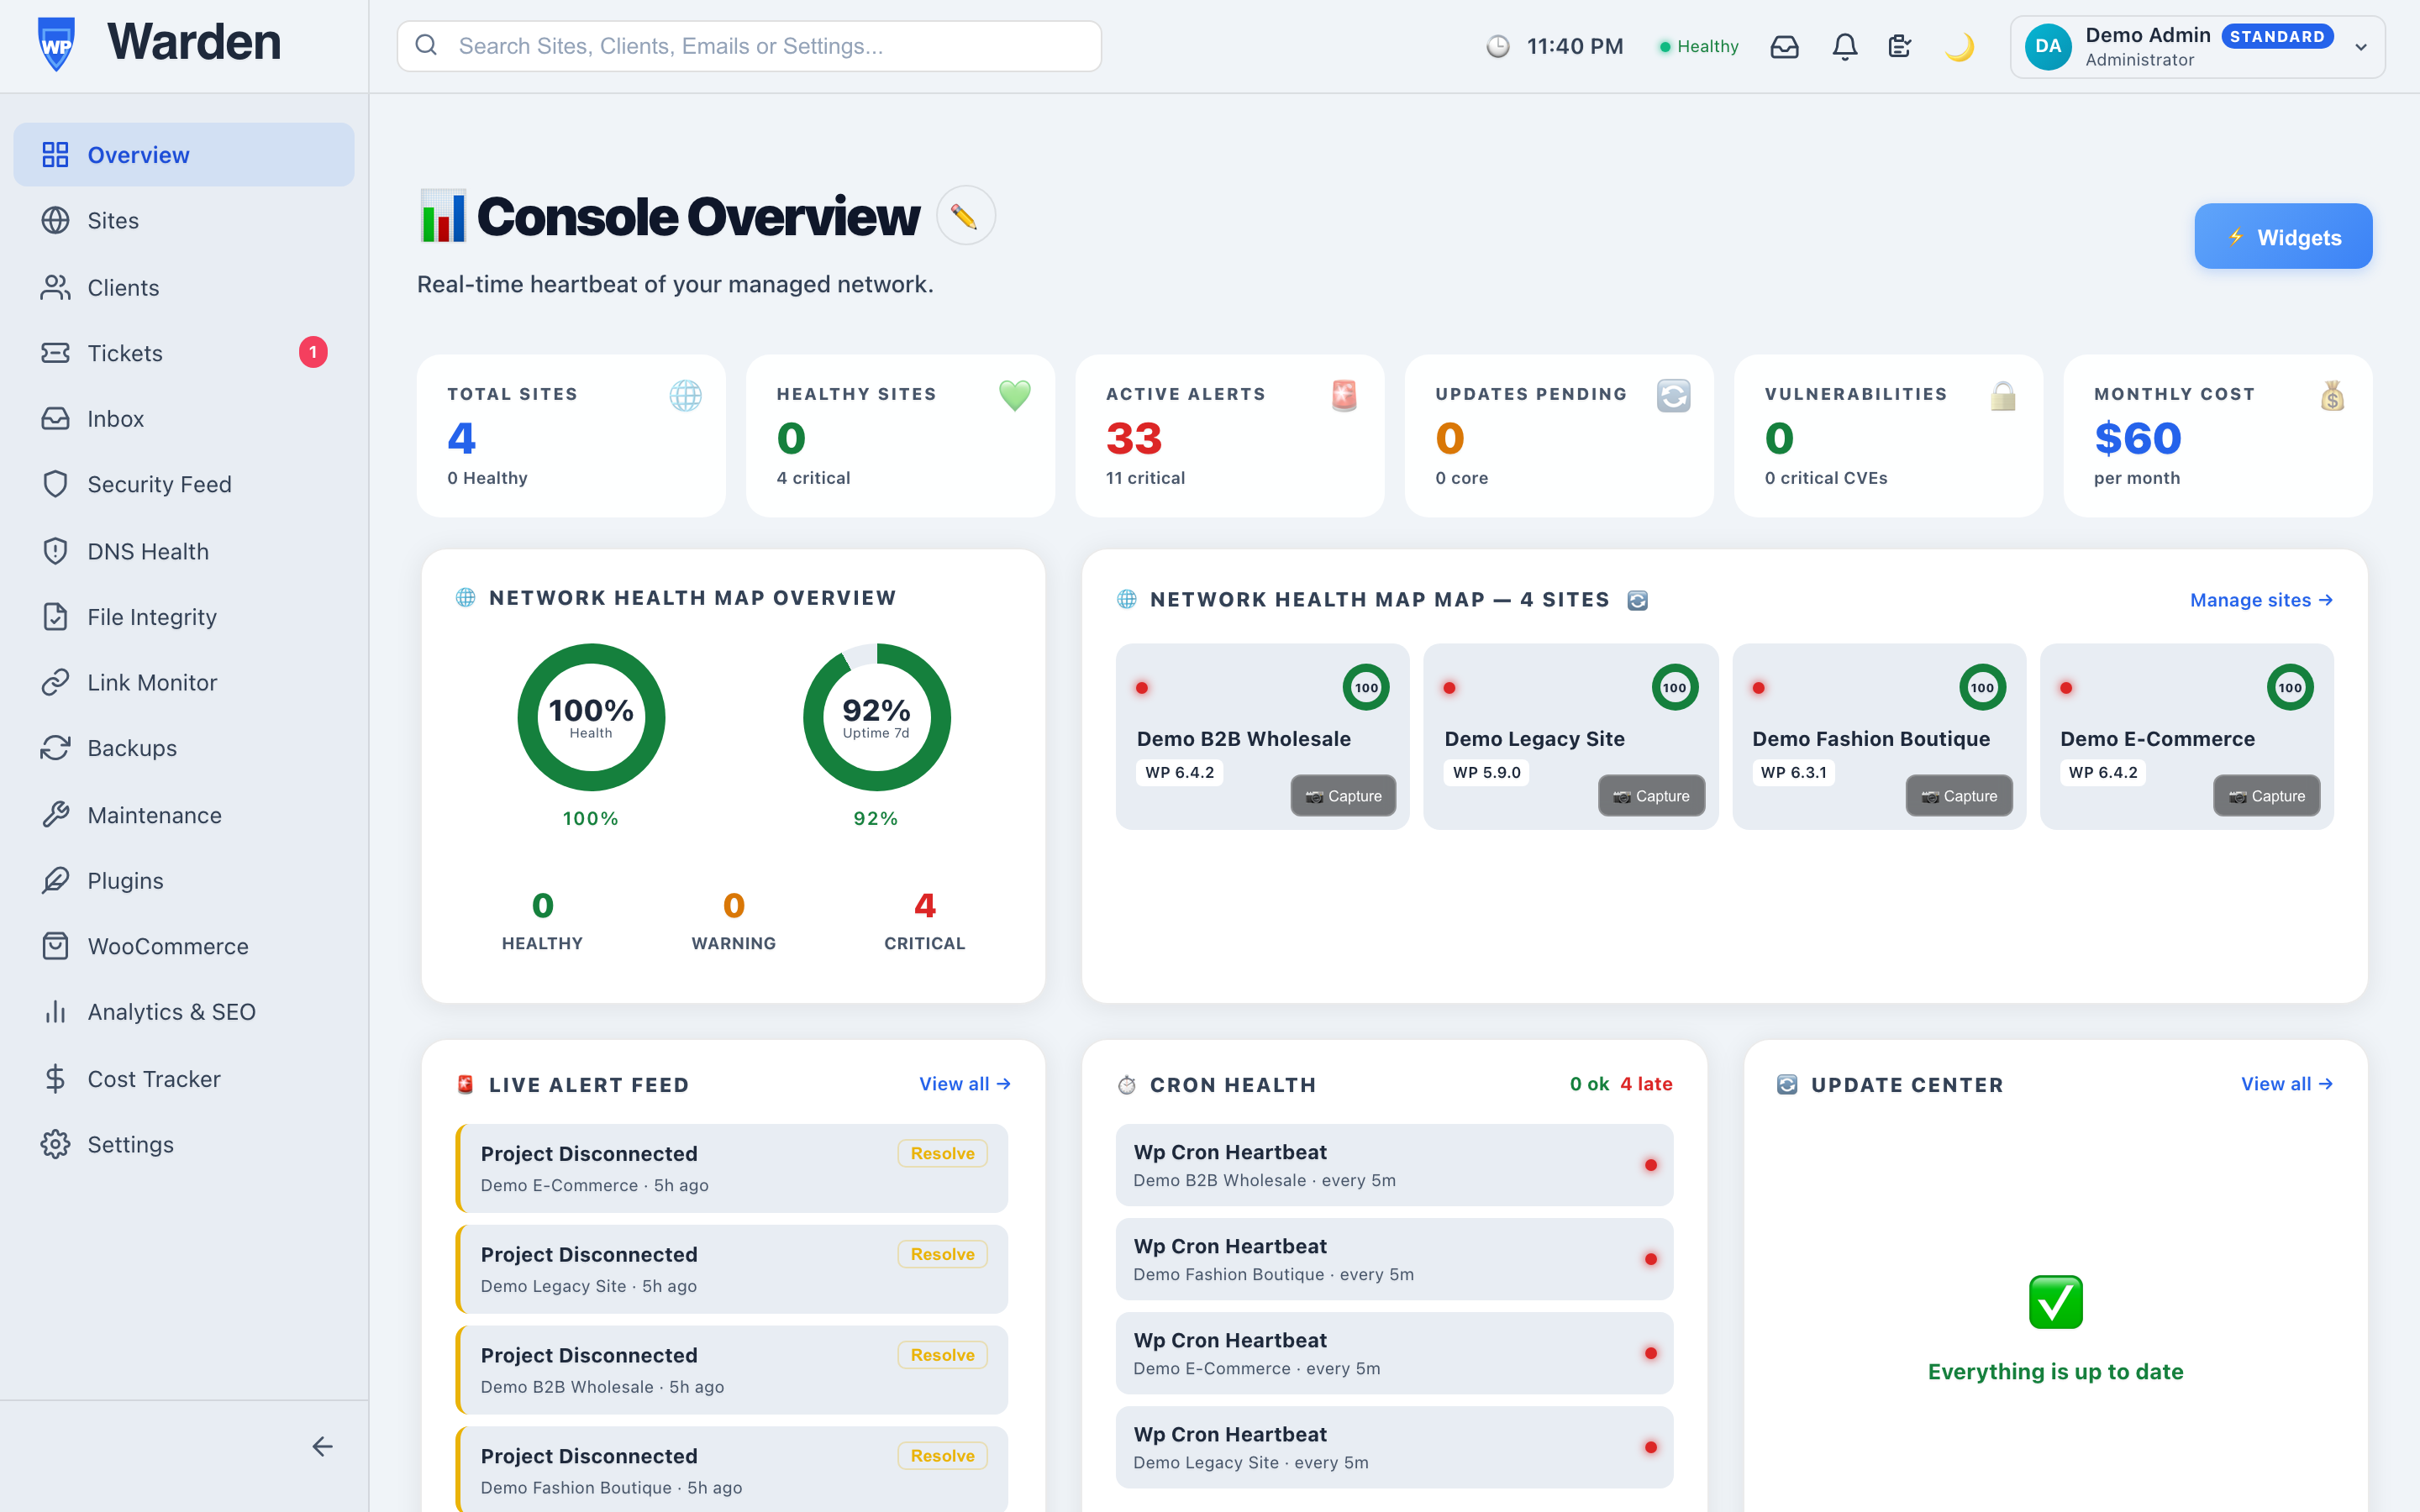
Explore the dashboardAfter login you land on the main dashboard. The left sidebar holds all navigation sections. The top bar shows live alert badges and your account menu.
-
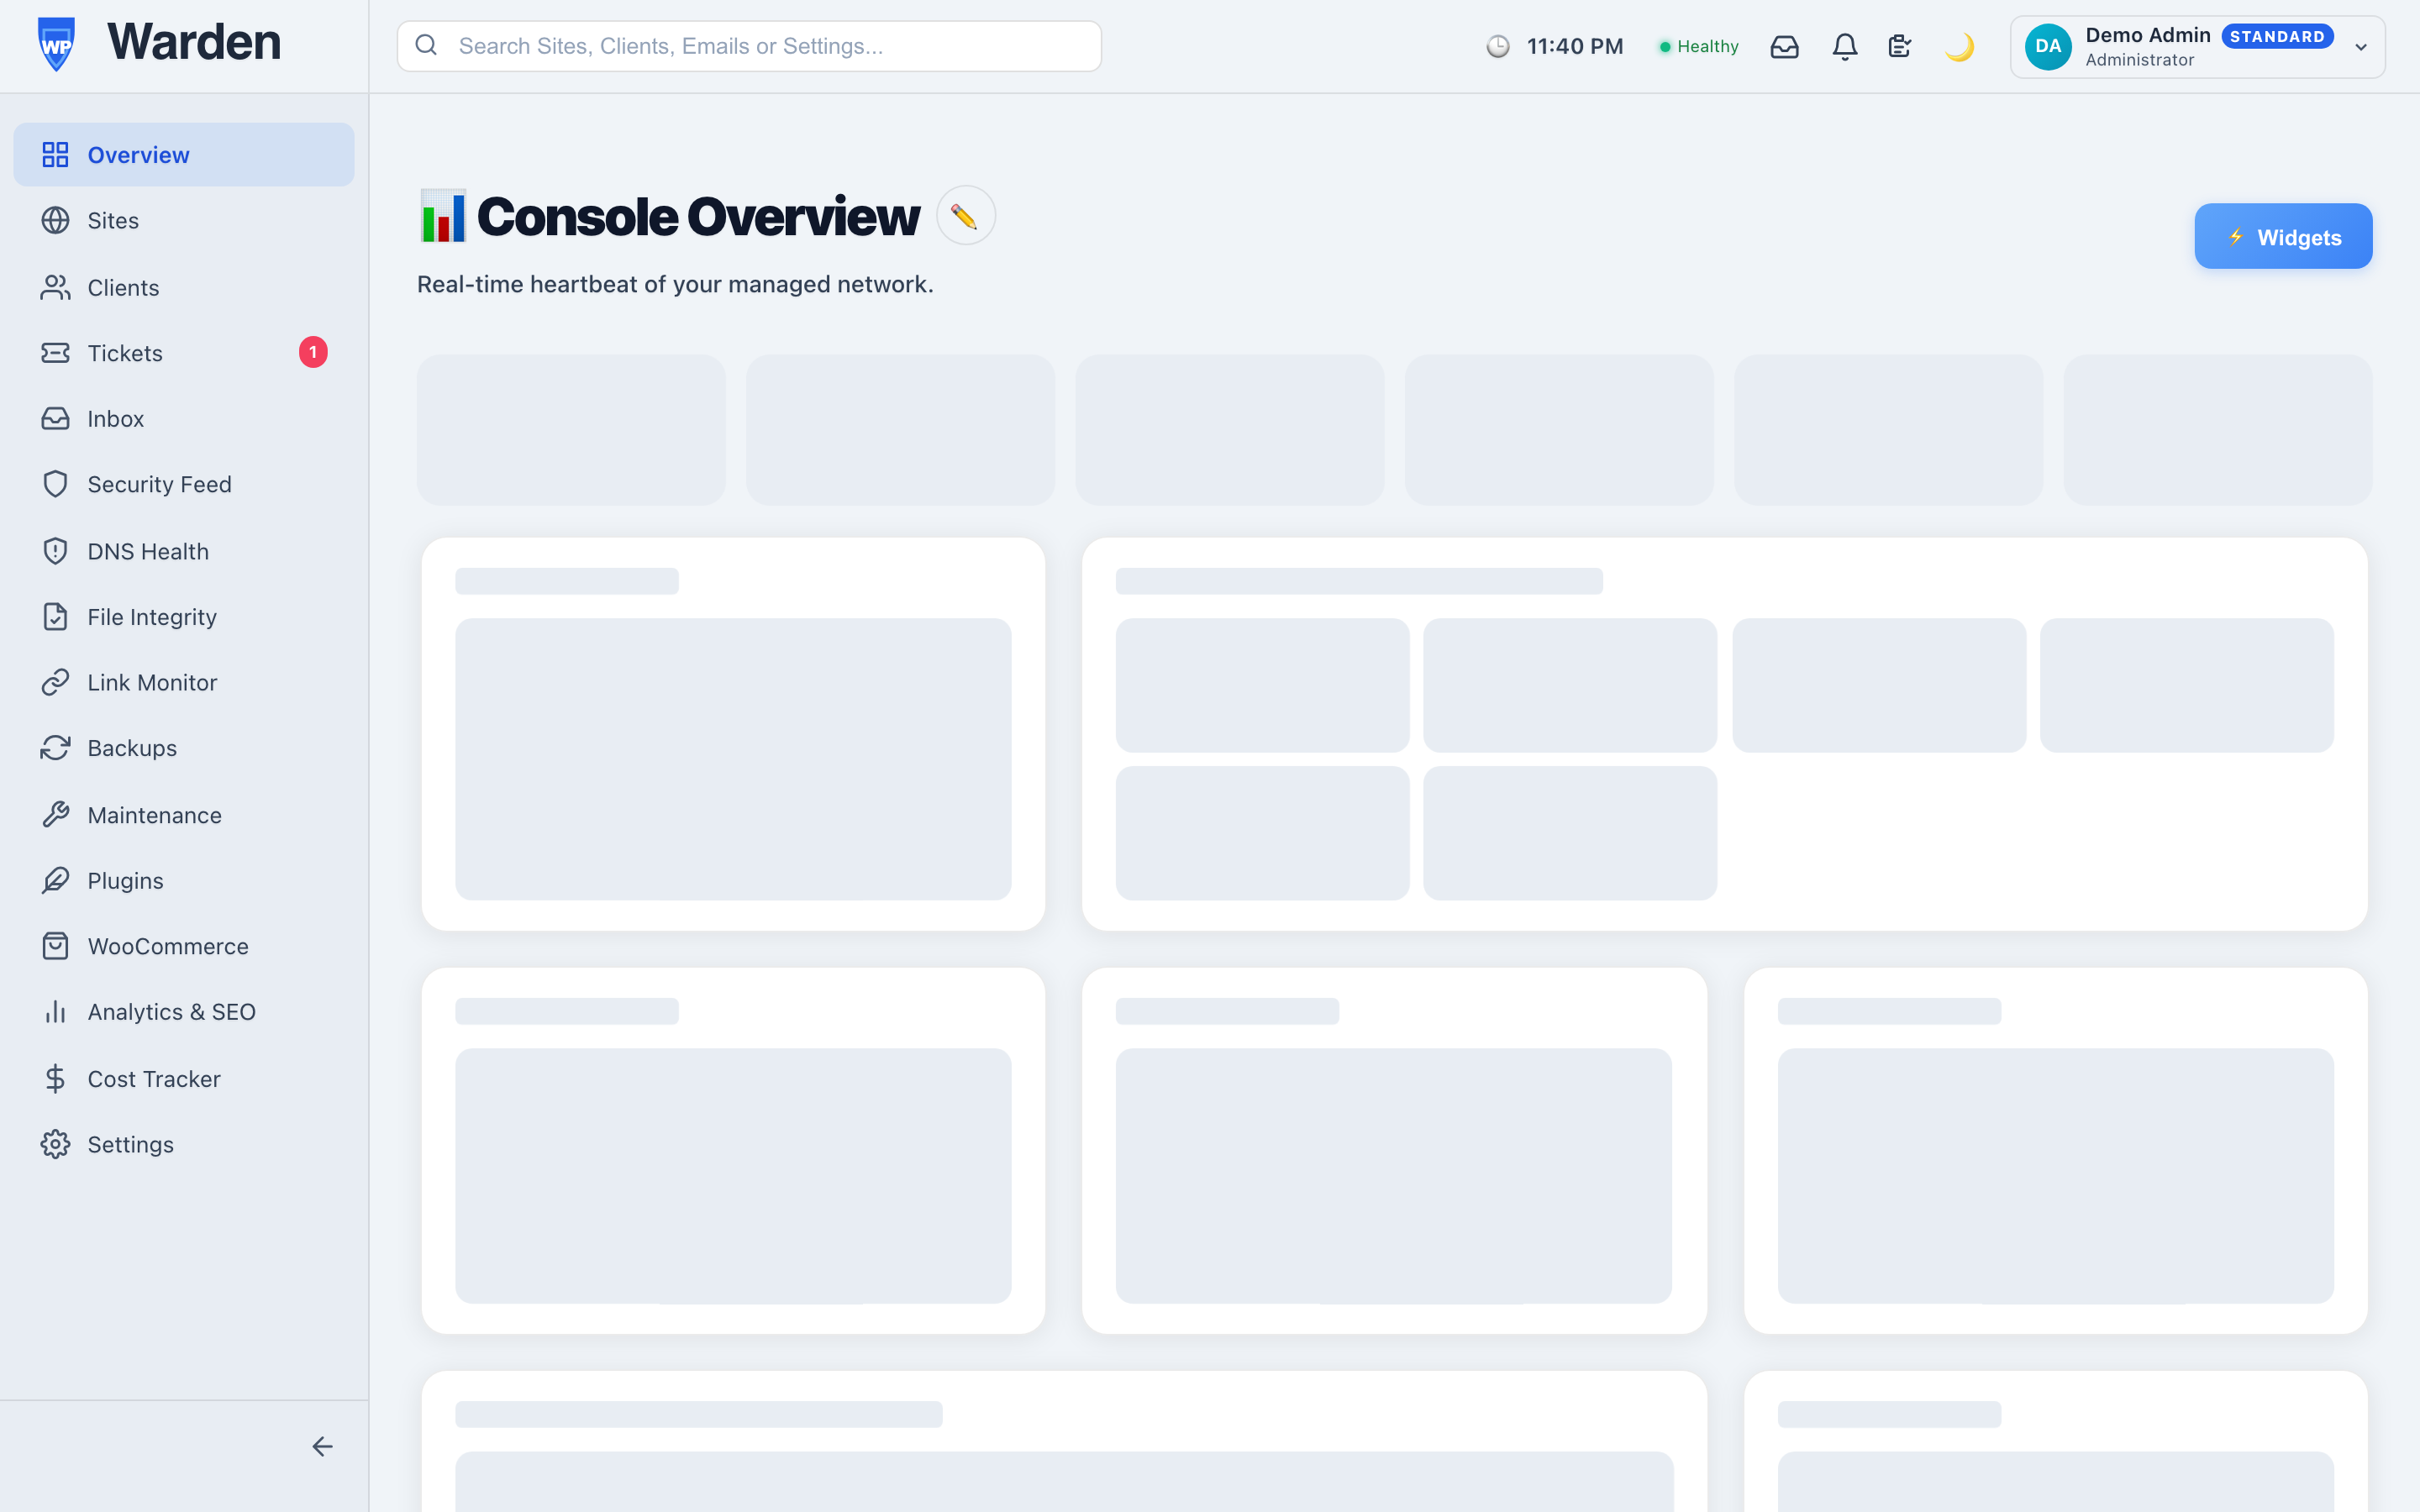
Choose a dashboard modeThe dashboard opens in Command Center mode — a single-pane view organized into interactive zones (alerts, health, uptime, and more). Click the ⚡ Widgets button in the top-right to choose which zones are shown; your choice is remembered automatically.
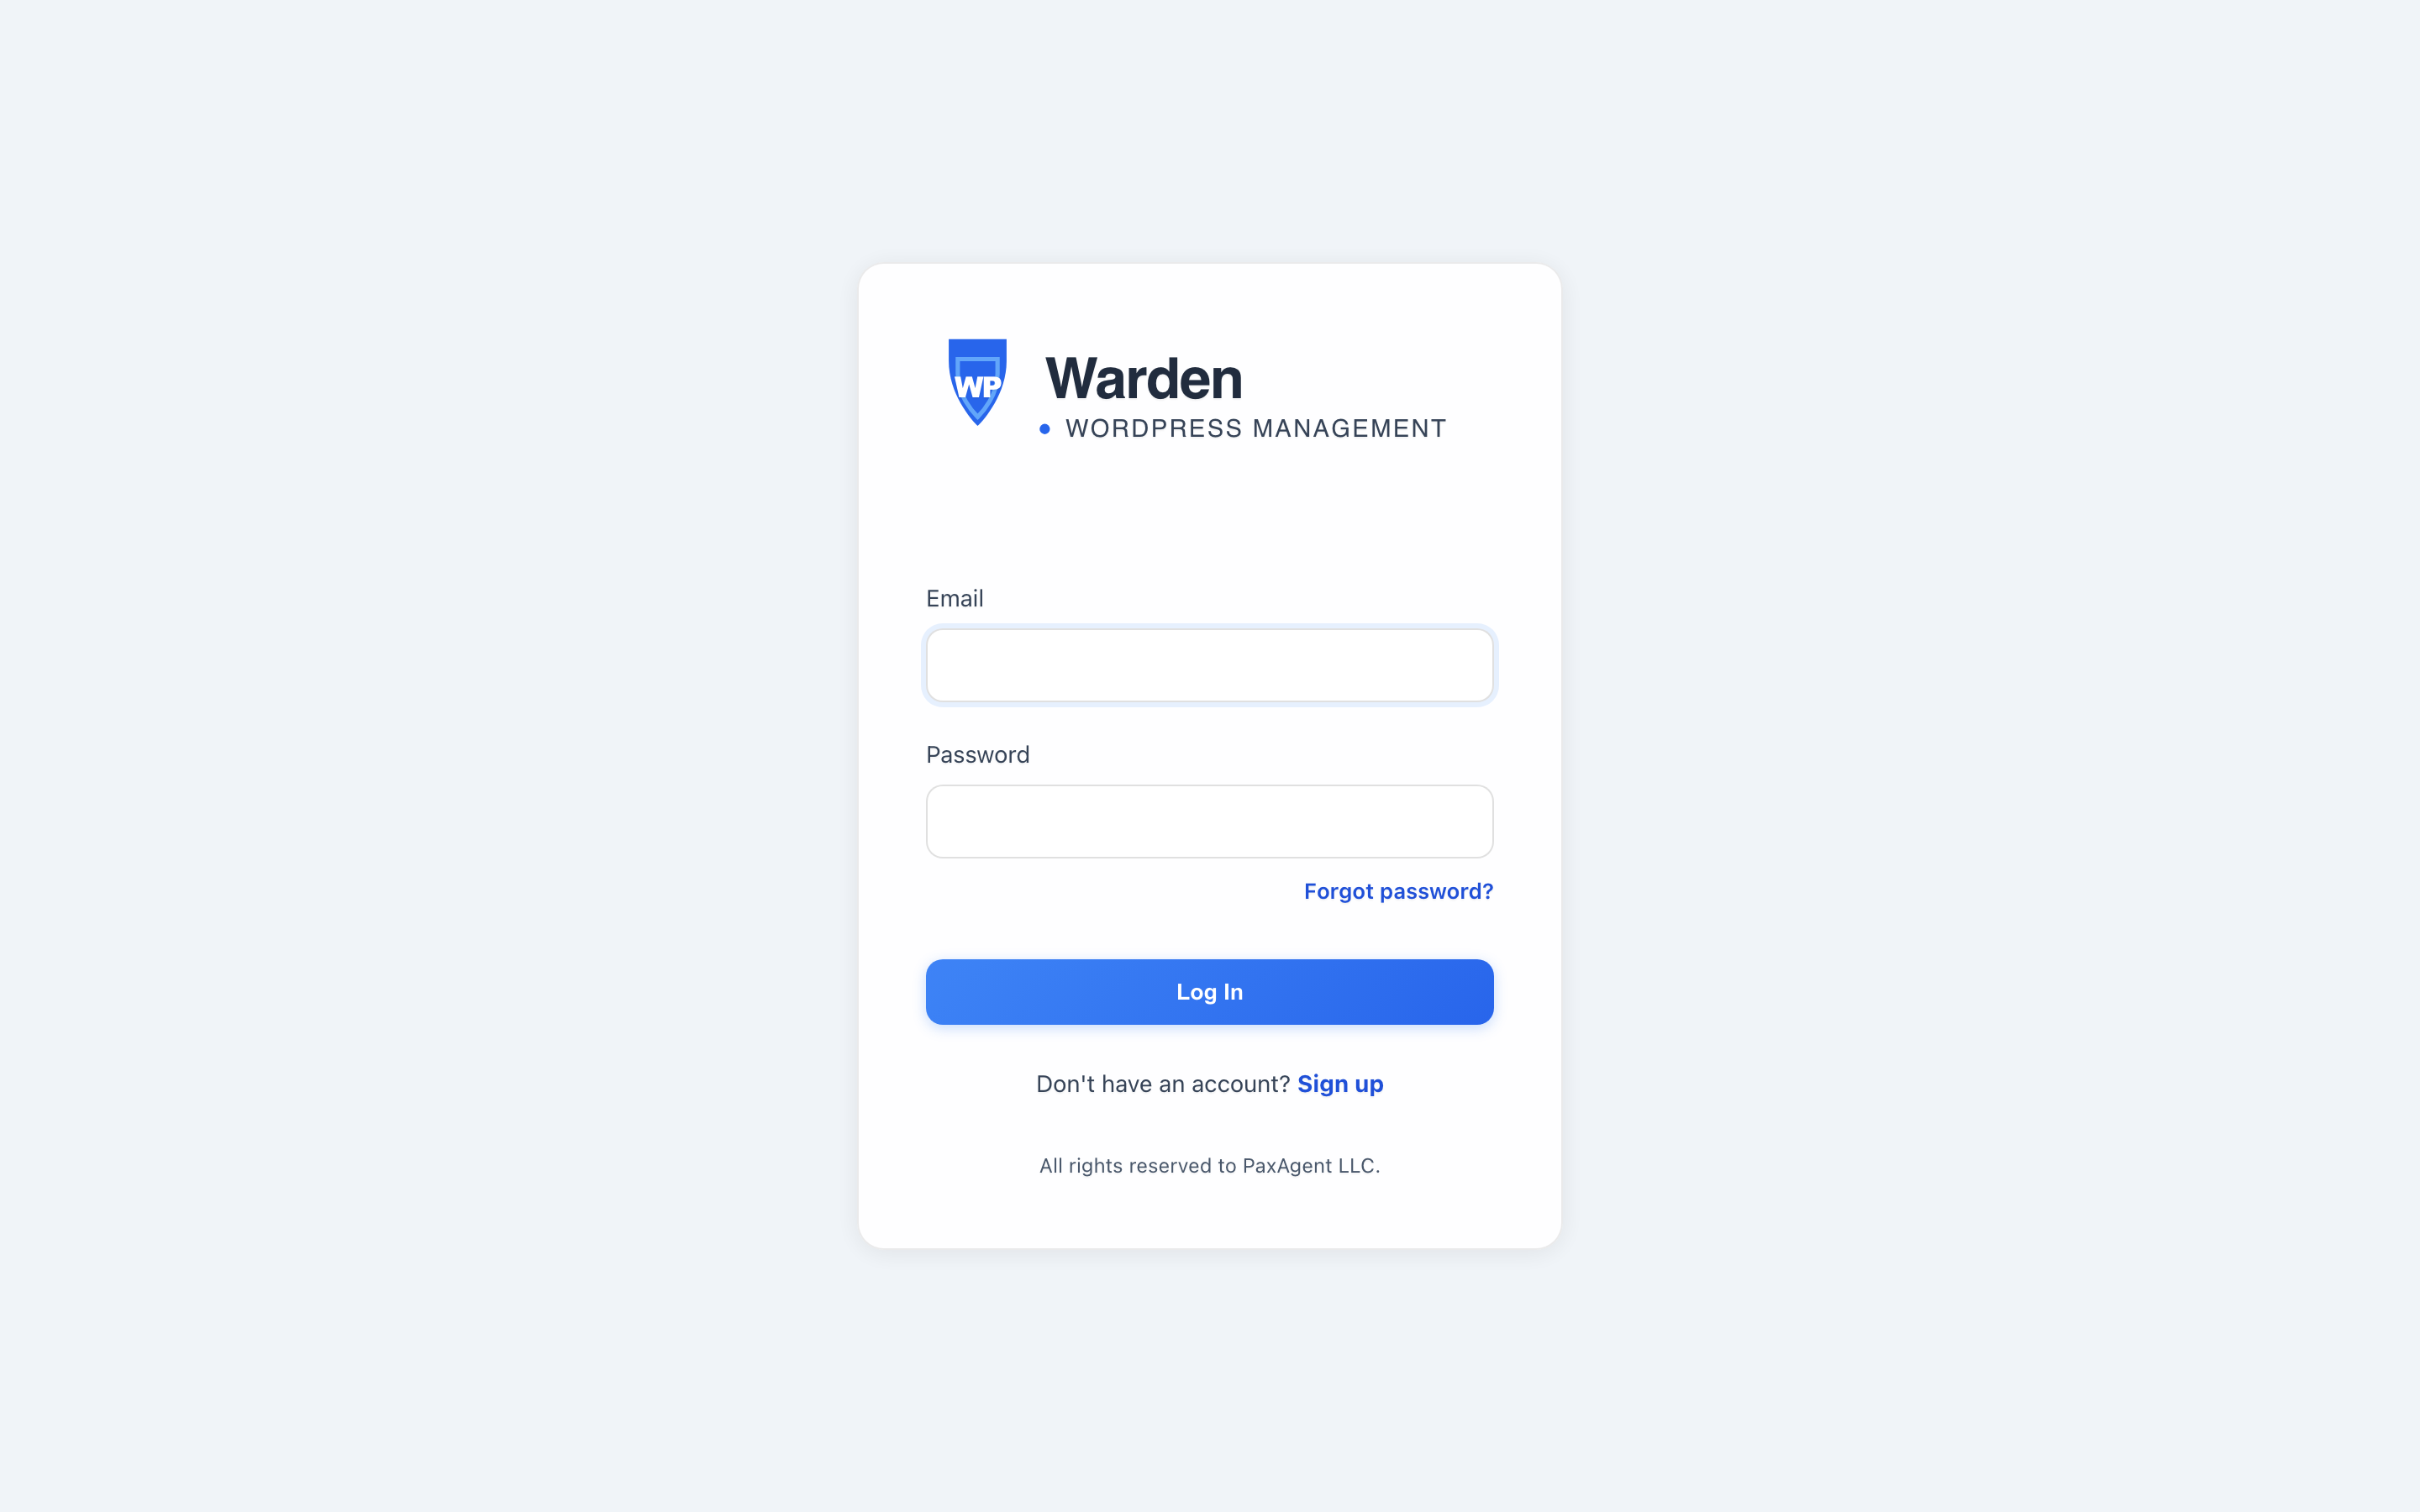 Screenshot: WP Warden login screen
The login form with email, password, and optional 2FA code field.
You can switch the interface language at any time using the language buttons in the footer bar on the Settings page — English, Arabic (RTL), French, and German are supported.
How to add a WordPress site
EssentialAdding a site creates a monitored entry in WP Warden. Once added, you install the WP Warden Watchdog plugin on that site so it can start sending data.
-
Go to SitesClick Sites in the left sidebar to open the site list page.
-
Click “+ Add Site”The Add Site dialog opens. Enter the site URL (e.g.
https://yourclientsite.com) — the only required field. You can optionally add a friendly name (e.g. “PaxAgent Website”) to make the site easier to identify in the list. -
Copy the generated API keySaving closes the dialog and adds the site to your list. To get the API key, open the site’s detail page and find the API Sync Key card — click to reveal and copy it. You will need it when configuring the WordPress plugin.
-
Install the WP Warden Watchdog pluginFollow the next guide (Install WP Warden Watchdog) to connect the site. Within minutes the site will appear as Healthy.
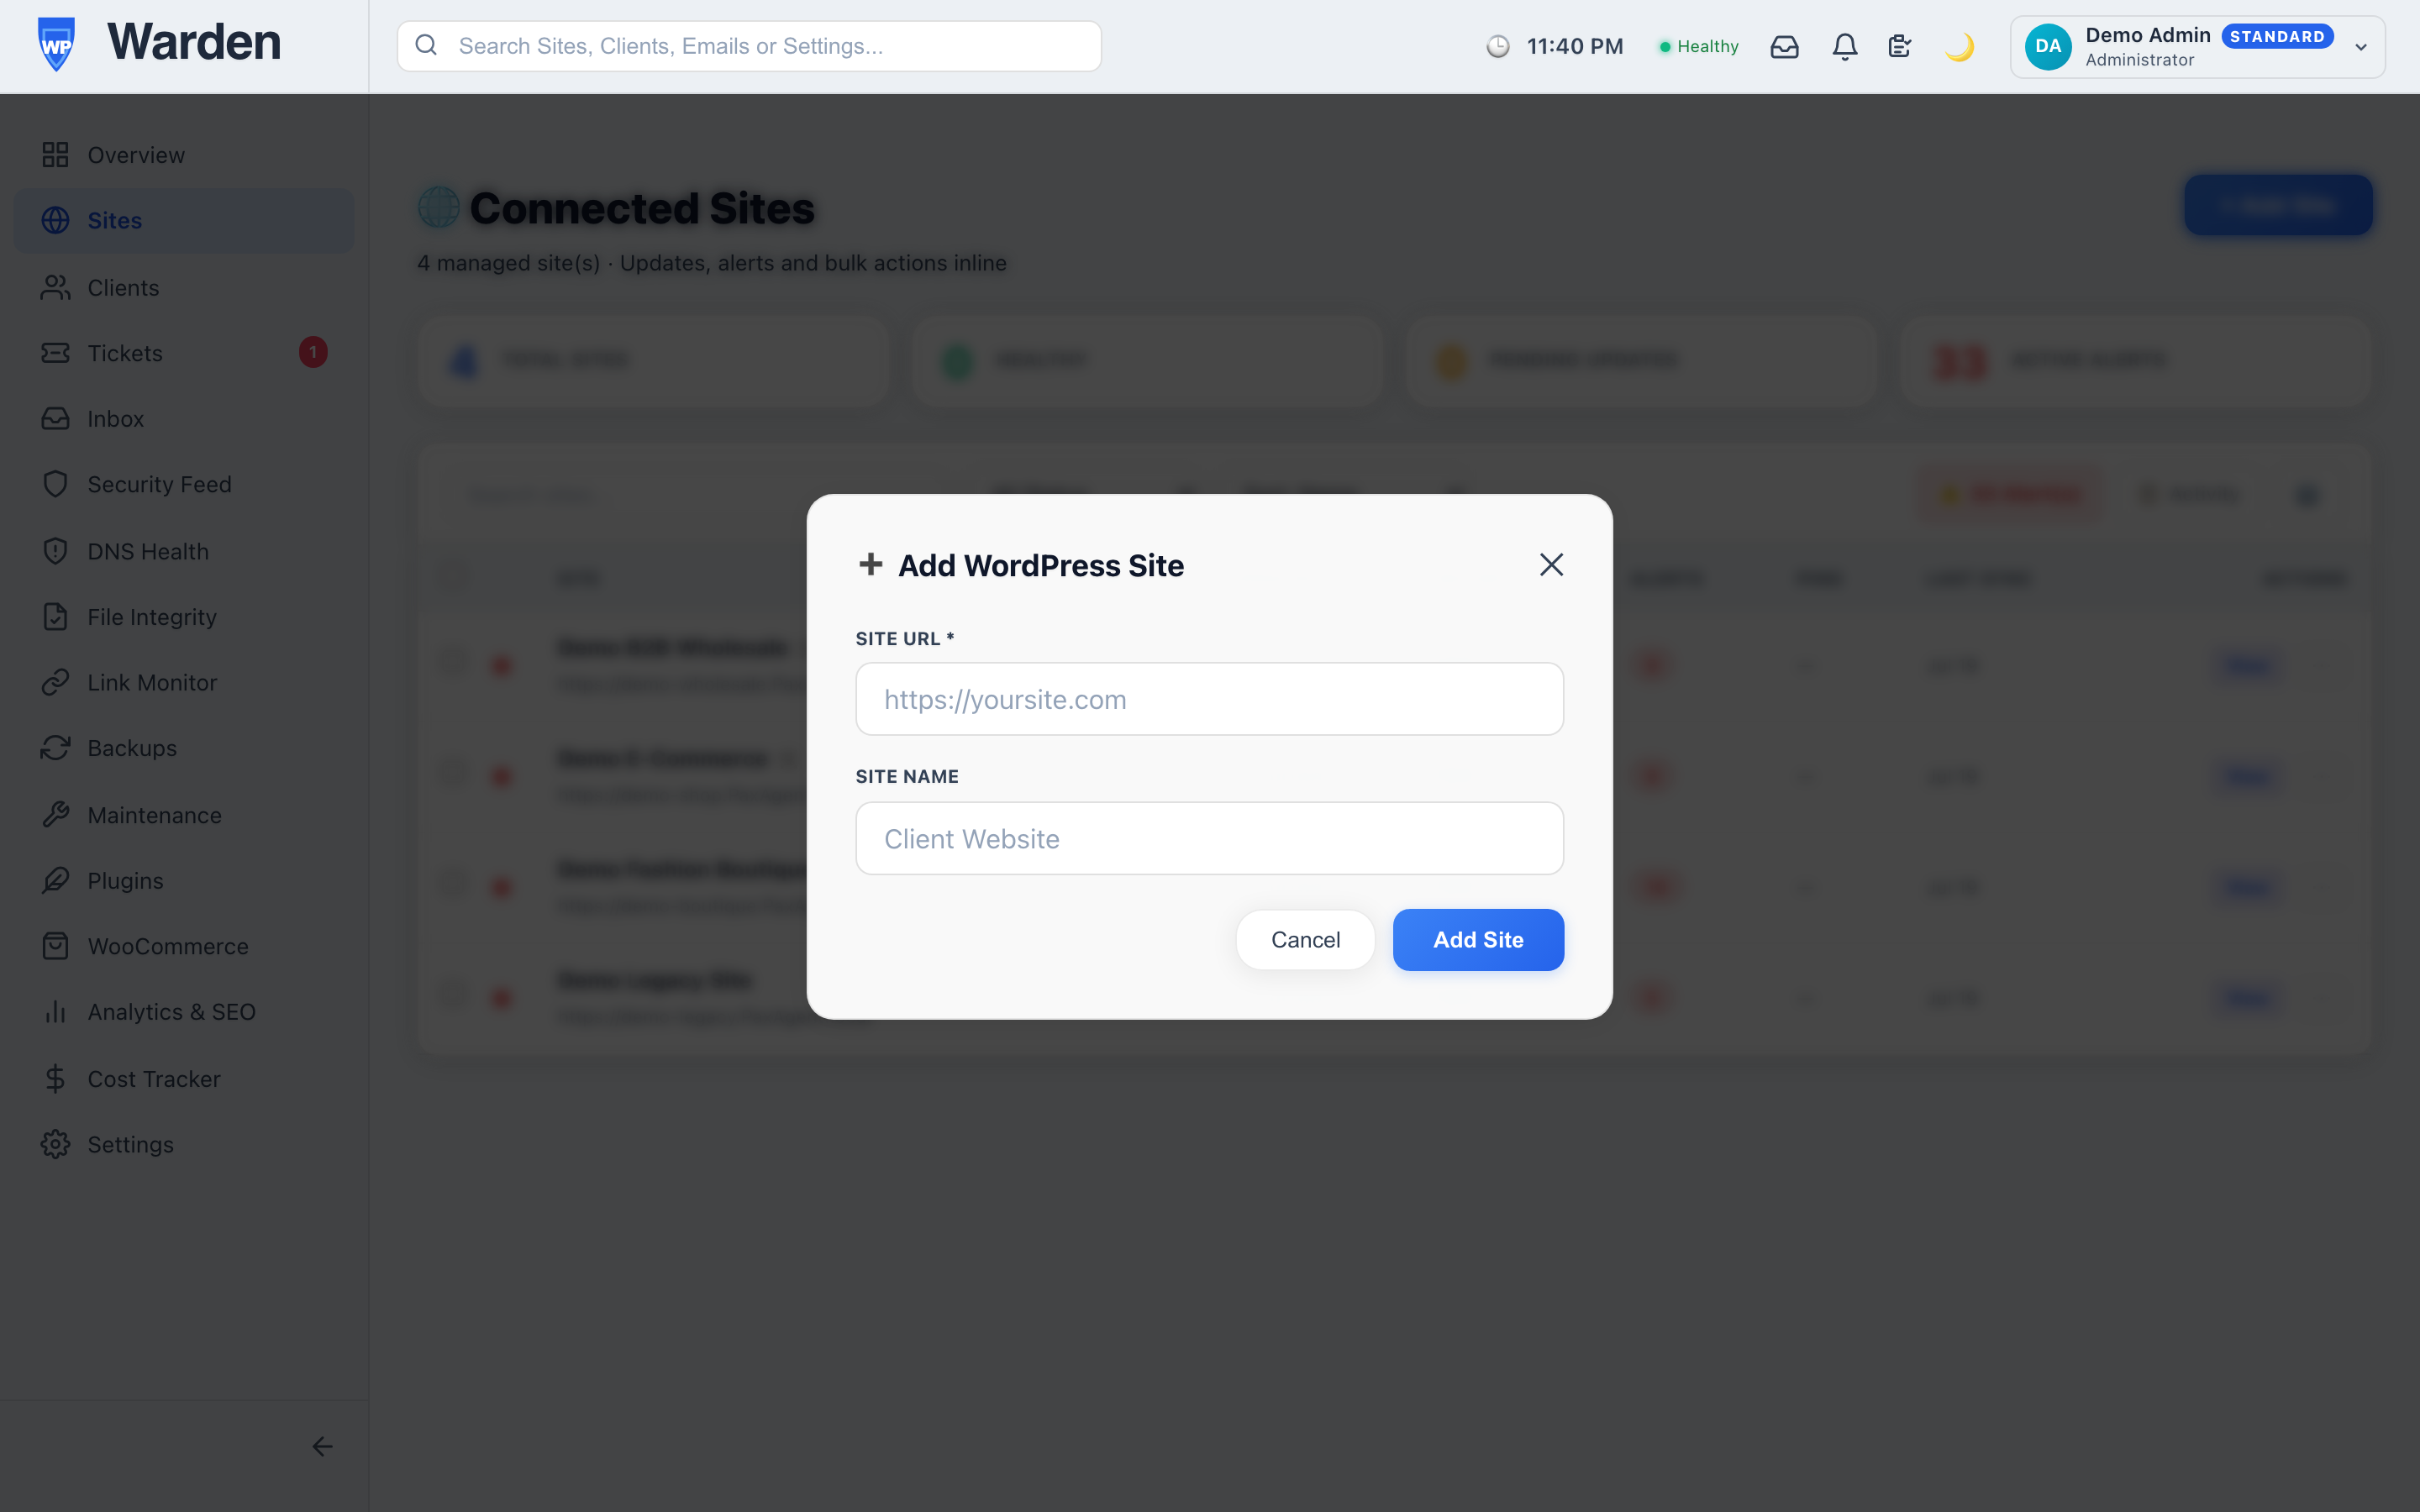 Screenshot: Add Site dialog
The Add Site dialog showing the site URL and optional site name fields.
You can add as many sites as your plan allows. Each site gets its own API key — never share keys between sites.
How to install the WP Warden Watchdog plugin
EssentialThe WP Warden Watchdog WordPress plugin is the bridge between your WordPress site and WP Warden. It sends health data, receives commands, and keeps everything in sync.
-
Download the pluginDownload the WP Warden Watchdog plugin ZIP file from the repository or package provided to you by your WP Warden account contact.
-
Upload to WordPressLog into the WordPress admin of the target site. Go to Plugins → Add New → Upload Plugin. Choose the ZIP file and click Install Now.
-
Activate the pluginAfter installation, click Activate Plugin. The plugin is now active but not yet configured.
-
Open WP Warden Watchdog SettingsGo to Settings → WP Warden in the WordPress admin menu — the plugin’s settings page is listed under its short name, “WP Warden”, not “WP Warden Watchdog”.
-
Enter the Backend URLPaste your WP Warden account URL — the same URL you use to log into your WP Warden dashboard — into the Backend URL field.
-
Enter the Site API KeyPaste the API key you copied when adding the site in WP Warden. This key uniquely identifies this WordPress site.
-
Save SettingsClick Save WP Warden Settings. To verify the connection immediately, use the Test Connection button next to it — this sends a one-time authenticated check to WP Warden. The site’s real heartbeat is sent the next time WordPress runs its scheduled cron events (every few minutes), after which the site status in WP Warden updates to Healthy.
 Screenshot: WP Warden settings page
in WordPress admin
Screenshot: WP Warden settings page
in WordPress admin
The Settings → WP Warden page showing Backend URL and API Key fields, plus the Test Connection button.
If the site does not appear as Healthy after 10 minutes, use the Test Connection button on the plugin’s settings page to check the connection directly, and confirm the Backend URL is accessible from the WordPress server (it must be able to reach WP Warden over the network).
WP-Cron must be enabled on the WordPress site for
heartbeats to fire automatically. If the site uses a
server-side cron instead, add define('DISABLE_WP_CRON', true); only if you have configured a
real cron that hits /wp-cron.php every 5 minutes. Editing wp-config.php requires
FTP/SFTP access or your host’s file manager — it’s the file in the WordPress root directory, one level
above wp-content/. Only add this line after confirming the real server-side cron job is
actually running: if it’s misconfigured or fails, disabling WP-Cron this way silently stops every
scheduled WordPress task, not just Watchdog heartbeats, with no visible error. Check your host’s own
docs for setting one up (cPanel “Cron Jobs”, Plesk “Scheduled Tasks,” etc. — the exact steps vary by
host).
How to add a client
ClientsCreate a client profile to associate WordPress sites with a contact, generate reports, and enable a white-label client portal.
-
Go to ClientsClick Clients in the left sidebar.
-
Click “+ New Client”The New Client form opens.
-
Fill in the client detailsEnter the client’s full name, email, phone number, company name, and address. The Notes field is internal-only — your clients never see it.
-
Add tags (optional)Tags like “Retainer”, “Enterprise”, or “eCommerce” help you organize and filter the client list. You can create new tags directly in this step.
-
Save the clientClick Save. The client now appears in the client list. Next, assign their sites (see below).
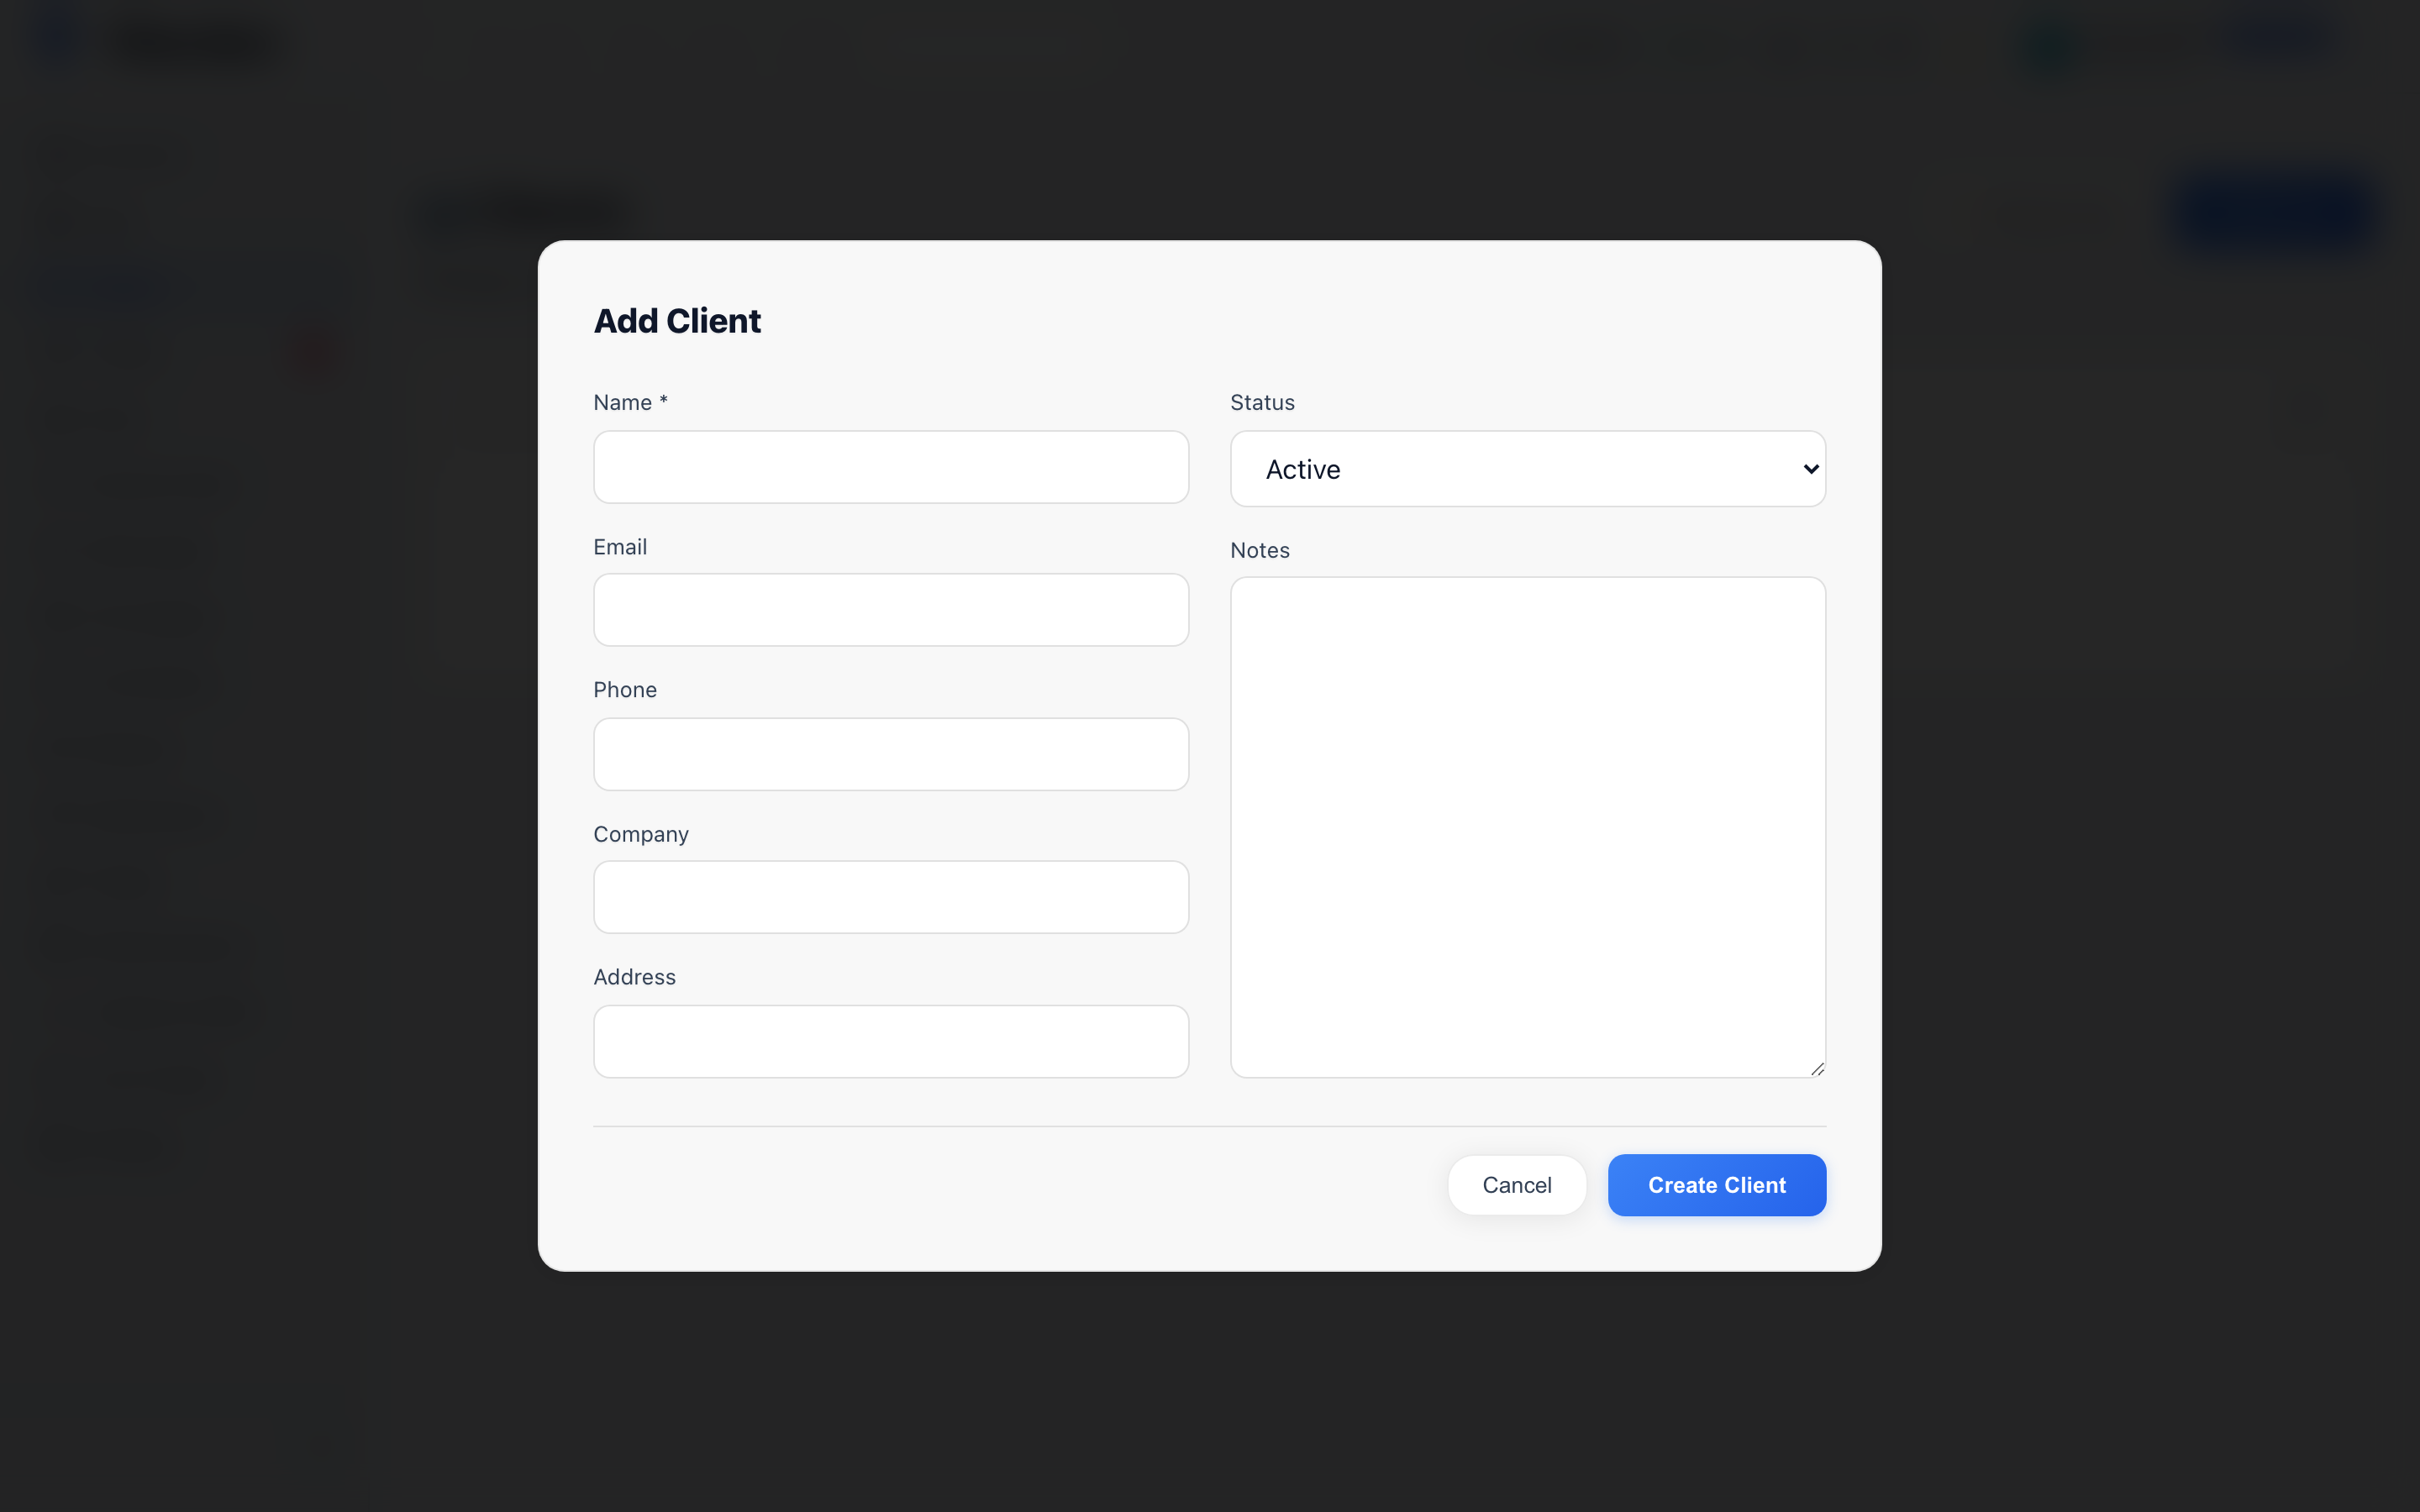 Screenshot: New Client form
The client creation form showing name, email, company, tags, and notes fields.
How to assign sites to a client
ClientsLinking sites to a client allows you to generate per-client reports and gives the client access to those sites via their portal.
-
Open the client’s detail pageFrom the Clients list, click the client’s name or the View button.
-
Click “Assign Sites”This opens a multi-select modal listing all sites you have added to WP Warden.
-
Select the sites that belong to this clientCheck all the sites you want to associate. Each site can belong to only one client at a time — if a site is already assigned elsewhere, WP Warden will ask you to confirm before reassigning it to this client.
-
ConfirmClick Save. The assigned sites now appear on the client detail page and will be included in any reports generated for this client.
 Screenshot: Assign Sites modal
The site selection modal showing checkboxes next to each available site.
Once sites are assigned, you can generate a branded PDF report covering all of them in one click. See How to generate a client report.
How to invite a team member
TeamAdd colleagues to your WP Warden account with role-based access. Administrators have full access; Managers handle day-to-day work; Viewers see only the client portal they are linked to.
-
Go to Settings → Users tabOpen Settings in the sidebar and click the Users tab. This tab is visible only to Administrators.
-
Click “+ Add Team Member”The new user form opens.
-
Enter their name and emailUse the email address they will log in with.
-
Choose a role
- Administrator — full access to all settings, data, and users
- Manager — manage sites, clients, reports, backups; cannot change tenant settings or manage users
- Viewer — read-only portal access; logs in and is redirected to a linked client’s white-label portal
-
For Viewer role: link to a client (optional)If you chose Viewer, a Linked Client dropdown appears. Select the client whose portal this user should access on login.
-
Save and share the temporary passwordClick Save. WP Warden does not send an email — it creates the account immediately and shows a one-time temporary password on screen. Copy this password and share it with the new team member yourself; they will use it with their email to log in, and can change it afterward.
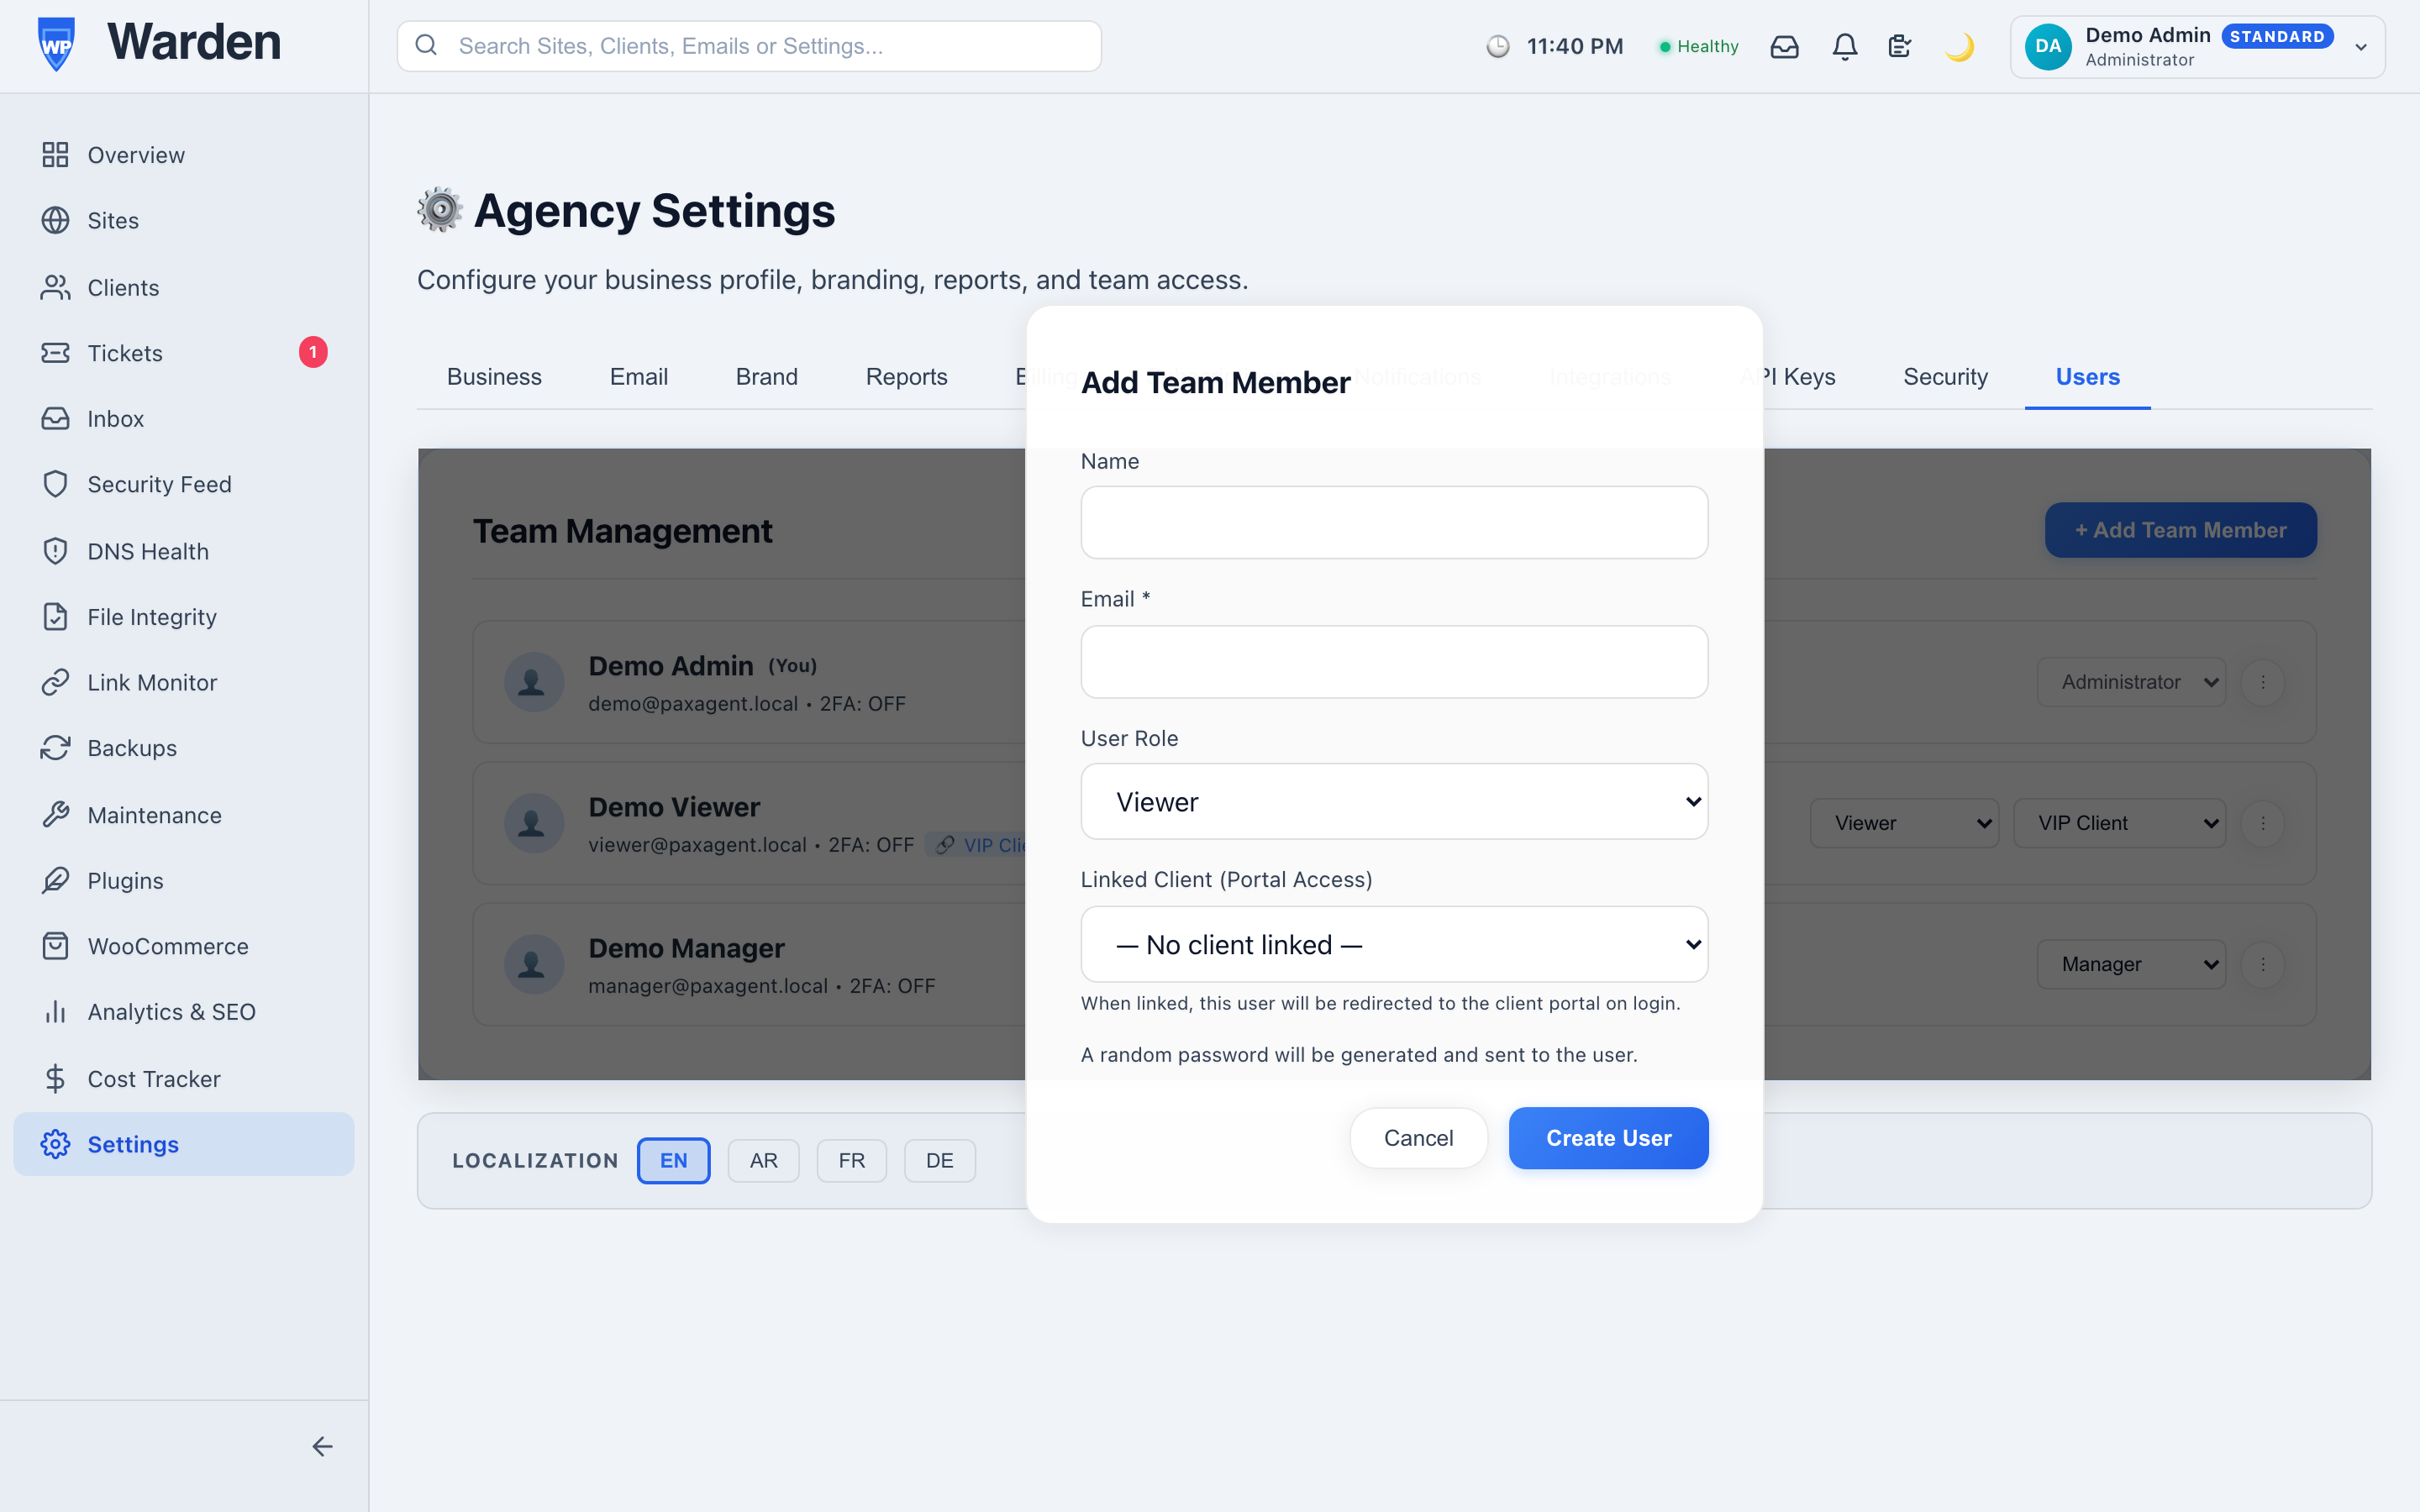 Screenshot: Invite User form in Settings → Users
tab
Screenshot: Invite User form in Settings → Users
tab
The form showing name, email, role selector, and the Linked Client dropdown (visible when Viewer is selected).
You can suspend a user at any time to prevent login without deleting their account. Their work history is preserved.